
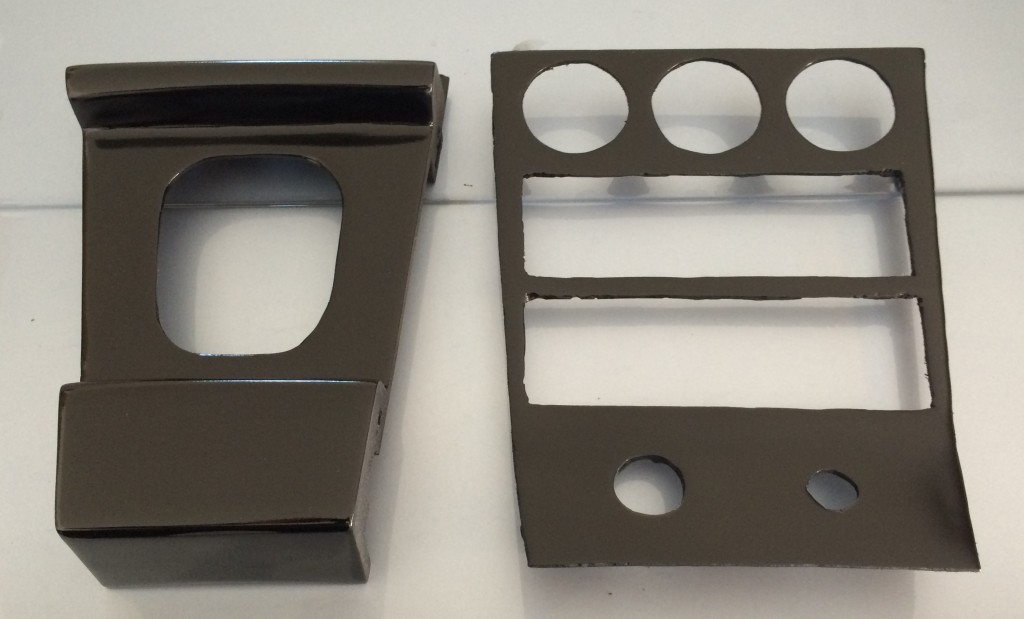
I have decided on the paint for the shift surround and the console face. Its black lacquer. Dupli-Color makes a pretty good spray can lacquer system. Gloss black with a nice clear lacquer on top. This has been quite a learning process! My first thought was that lacquer will fill in any imperfections and make it nice and smooth. NOPE. WRONG. Lacquer actually will show EVERY imperfection. So my first pass was slightly disappointing. I painted the pieces and every scratch and imperfection showed up. It was instantly noticeable that I did not use a fine enough sandpaper. I was using 160 grit which was not fine enough. So my next step was to move up to 320 and wet sand! What a difference this makes! The 320 wet sanded made the panels nice and smooth. Now I know exactly why wet sanding is a huge part of the process. After attacking both pieces with the 320 grit sandpaper it was time to primer and spray the lacquer again. This gave me a much smoother surface.
Take two for the black lacquer. The results were better, but still not exactly what I am looking for.
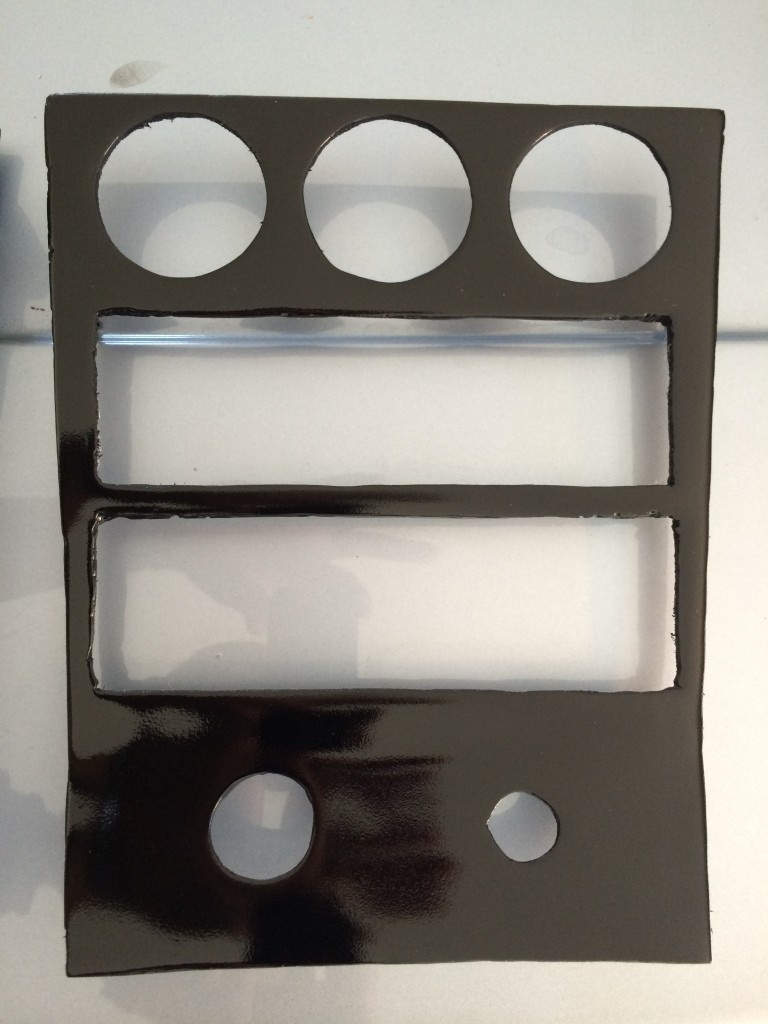
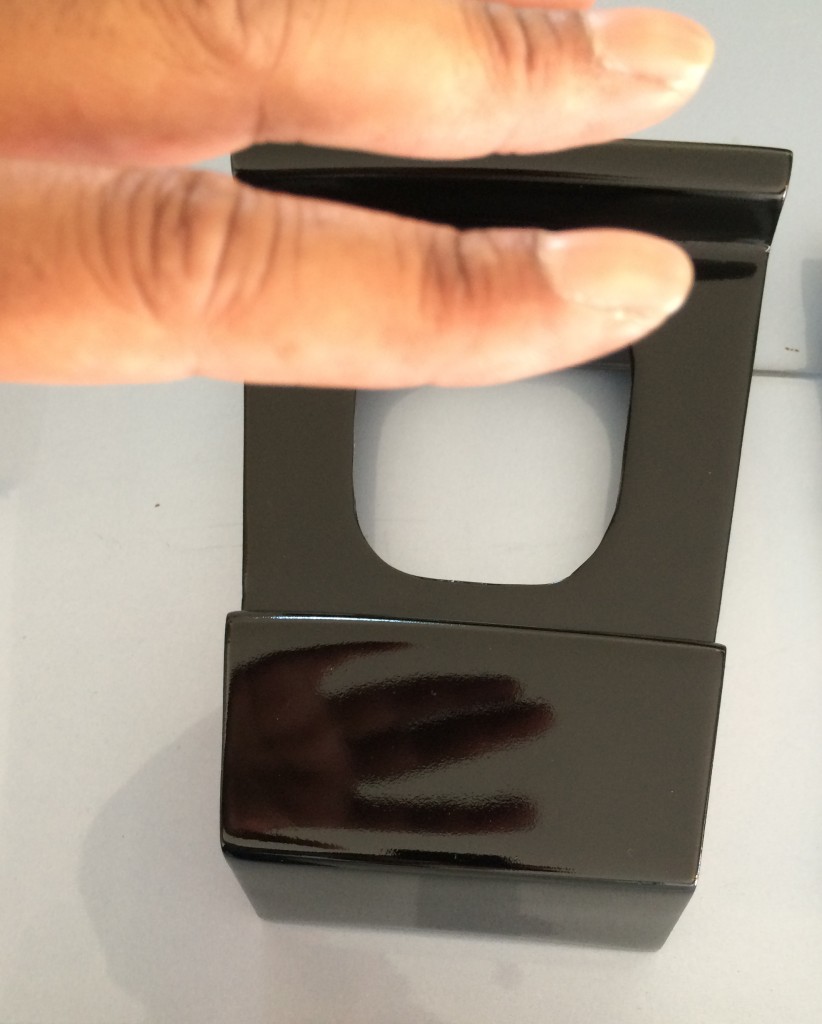
I was curious how the clear coat would look so I test sprayed one panel and WOW. Now THATS what I am looking for. The gloss coat made a HUGE difference in the shine! So now the problem is the finish is still not smooth enough. So its time to strip it down a little bit with 320 wet and then go up to 600 wet. Once I did that, then it was time to spray the black lacquer again. This time it went on perfectly smooth!
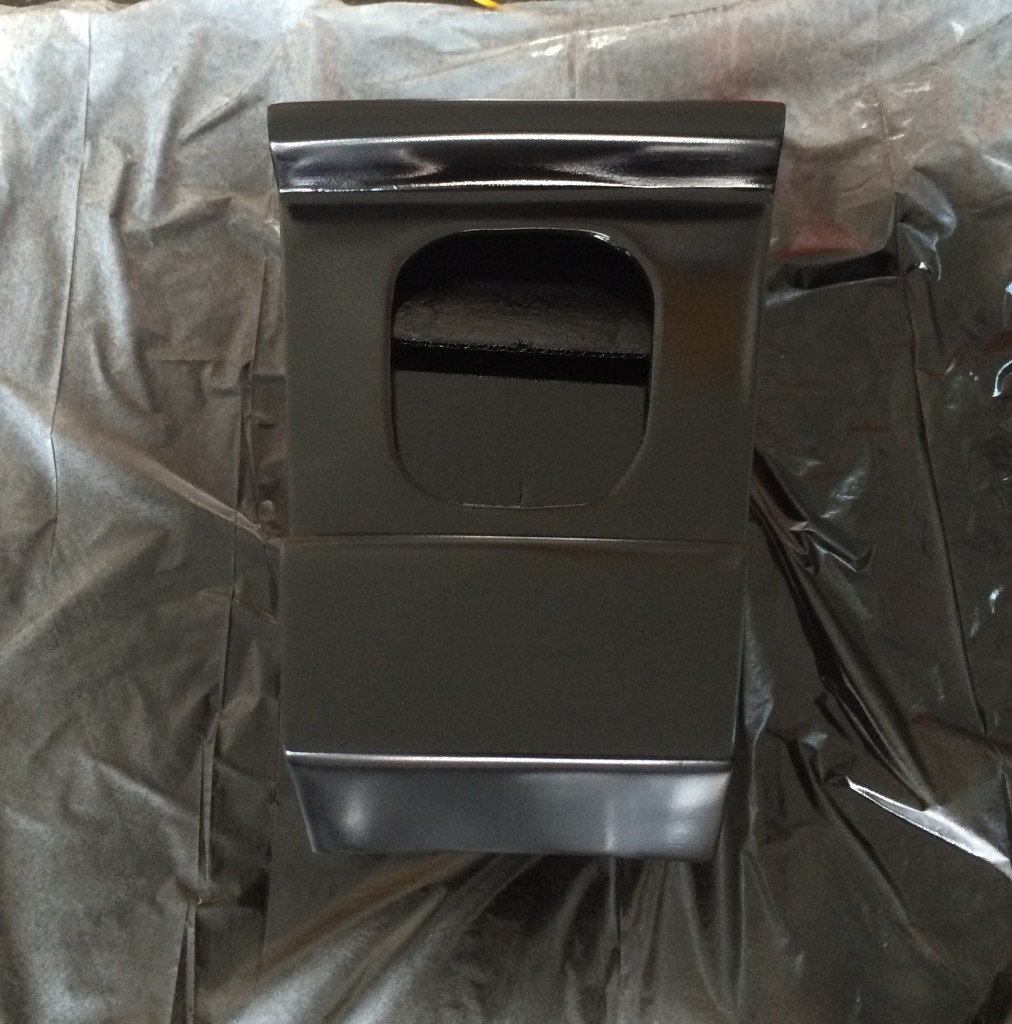
I applied 3 coats of lacquer waiting 10 minutes in between as the directions said. This built up a nice layer of lacquer. There was some orange peel, but it was a uniform texture and that was ok with me. If I really wanted perfection I would have waited a week until the lacquer hardened completely then we sanded again. Since this is gonna hold gauges and the radio and will be seen only in the interior I decided that would be more than I wanted. So after a few hours of drying, I applied a few coats of the clear. The results…amazing! Im so pleased!

It’s been about 3 days now and the clear still isn’t completely dry. Still bit tacky but it’s getting there. Another few days and it will be a super tough and resilient surface.
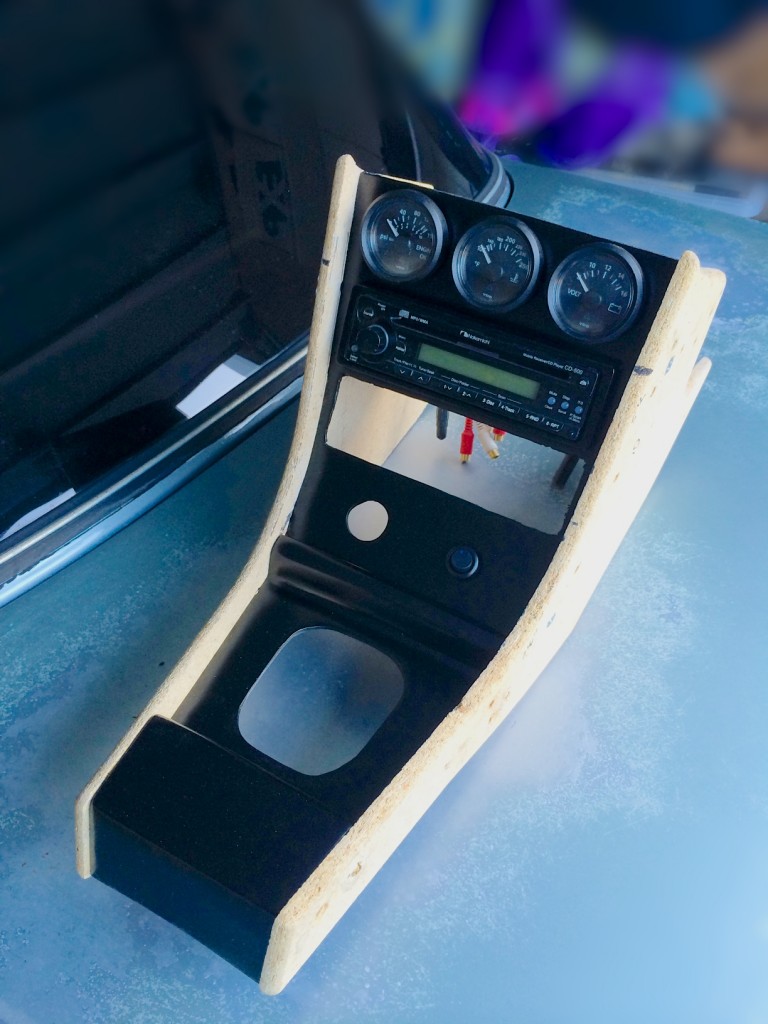
The next steps….vinyl the sides and make a shift boot, then assembly and install! This is the home stretch!!!
Click here for the next center console update!
Hello,
I’m a new 2002 owner and stumbled upon your awesome and very informative blog! Thanks for all the useful information. I wanted to ask if maybe I can get some help from you with building a similar center console setup. I really like how you did your setup, looks clean!
No prob! Just let me know what help you need.