Took the car to Ken Black at Vintage BMW Racing to have him replace the wheel studs. Should be simple and straightforward right? WRONG!
#nevereasy
So the axle bolts on the rear and the hubs came off easily. Too easily. The drivers side was fine. Tight, no play, splines on the stub axle looked good as well as the teeth on the hub. The passengers side though…that was bad. The teeth on the hub were mangled. In fact they were smooth and completely worn away in some spots and the splines on the stub axle were worn. Lots of play when moving the hub on the axle. On top of that I had a brake cylinder leak.
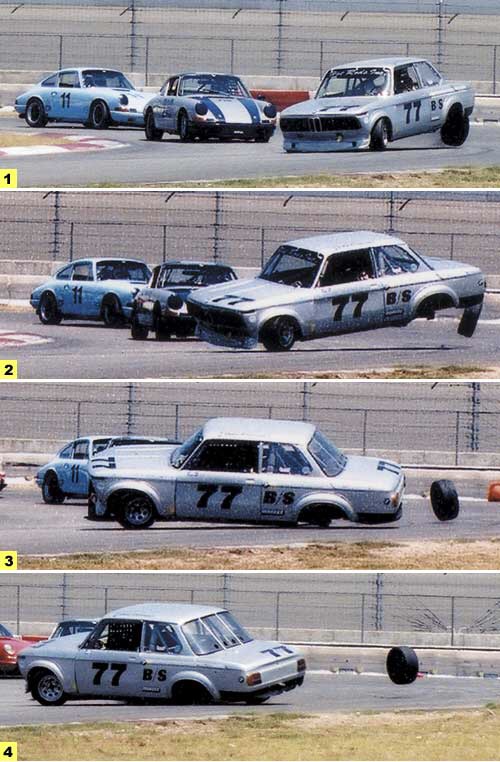
So Ken had a used stub axle and hub in great shape that he put on the car. Stub Axle failure is NOT a good thing. If it fails the hub will detach from the car and the wheel with it, leaving the 02 scraping the pavement in a shower of sparks on the rear subframe and bodywork. You are lucky if thats all that happens. There are some very dramatic photos and stories of stub axle failures on the web.

After Ken and Tom had the stub axle replaced they pounded the old studs out of the old hubs and installed the longer ones to accommodate the spacers for the wheels. The did the wheel bearings and replaced the leaky brake cylinder. Bled the brakes and buttoned the car up. Everything felt great. I got home and decided to do another final test fit so I can order the appropriate spacers.
I jacked the car up, removed the old BBS wheel, put 8 washers on each stud (about 15mm), bolted the new wheel onto the car, lowered the car onto the ground and it looked good. I decided to put the center cap on just to check everything and guess what….it hit the longer studs and wouldn’t lock!!
#nevereasy
So now I’m scratching my head. Hundreds spent on refinishing the wheels, installing longer studs, redrilling, polishing and now the center caps won’t fit! So I did a few things. I put another washer on the hubs to give the locking mechanism a tad more space simulating a bigger spacer so now it’s about 18mm. Then I grabbed the trusty dremel tool and removed some plastic around the cap locking mechanism. I ground it down just enough to be able to lock the cap on the wheel. Phew.
So I decided on a 9mm spacer in the front and a 17mm spacer in the rear. If the rear is too aggressive, I’ll go with a 15mm and maybe use a cutting wheel and cut the studs down a bit. I think they are 80mm long. 65mm would probably be perfect.
So the story ends well, but it sure took a long time to get there! With 40+ year old cars, its #nevereasy!
