
7 years ago I bought a hand painted valve cover on eBay for something ridiculous like $50. It’s the one that’s on the car now, black with the BMW M stripes. Time has taken its toll on it and it’s now looking a bit dodgy. It’s faded, and the oil and dirt in the engine bay have stained it. So I decided to have a go at it. I googled BMW valve covers for some inspiration. I decided to try a white one and maybe a grey one, both with the BMW M stripes. Since successfully painting my BBS wheels with pretty good results I decided to get some paint and give it a shot. Here was my first result.
Not bad but a few flaws.
One. The valve cover wasn’t prepped well enough and the masking take peeled the paint off. I will have to not only clean and degrease it well, I will scuff the surface to give the primer something to bite into and adhere to.
2. The stripes are too small.
3. Not feeling the white
4. Masking job wasn’t good enough. There was some bleed of the stripes.
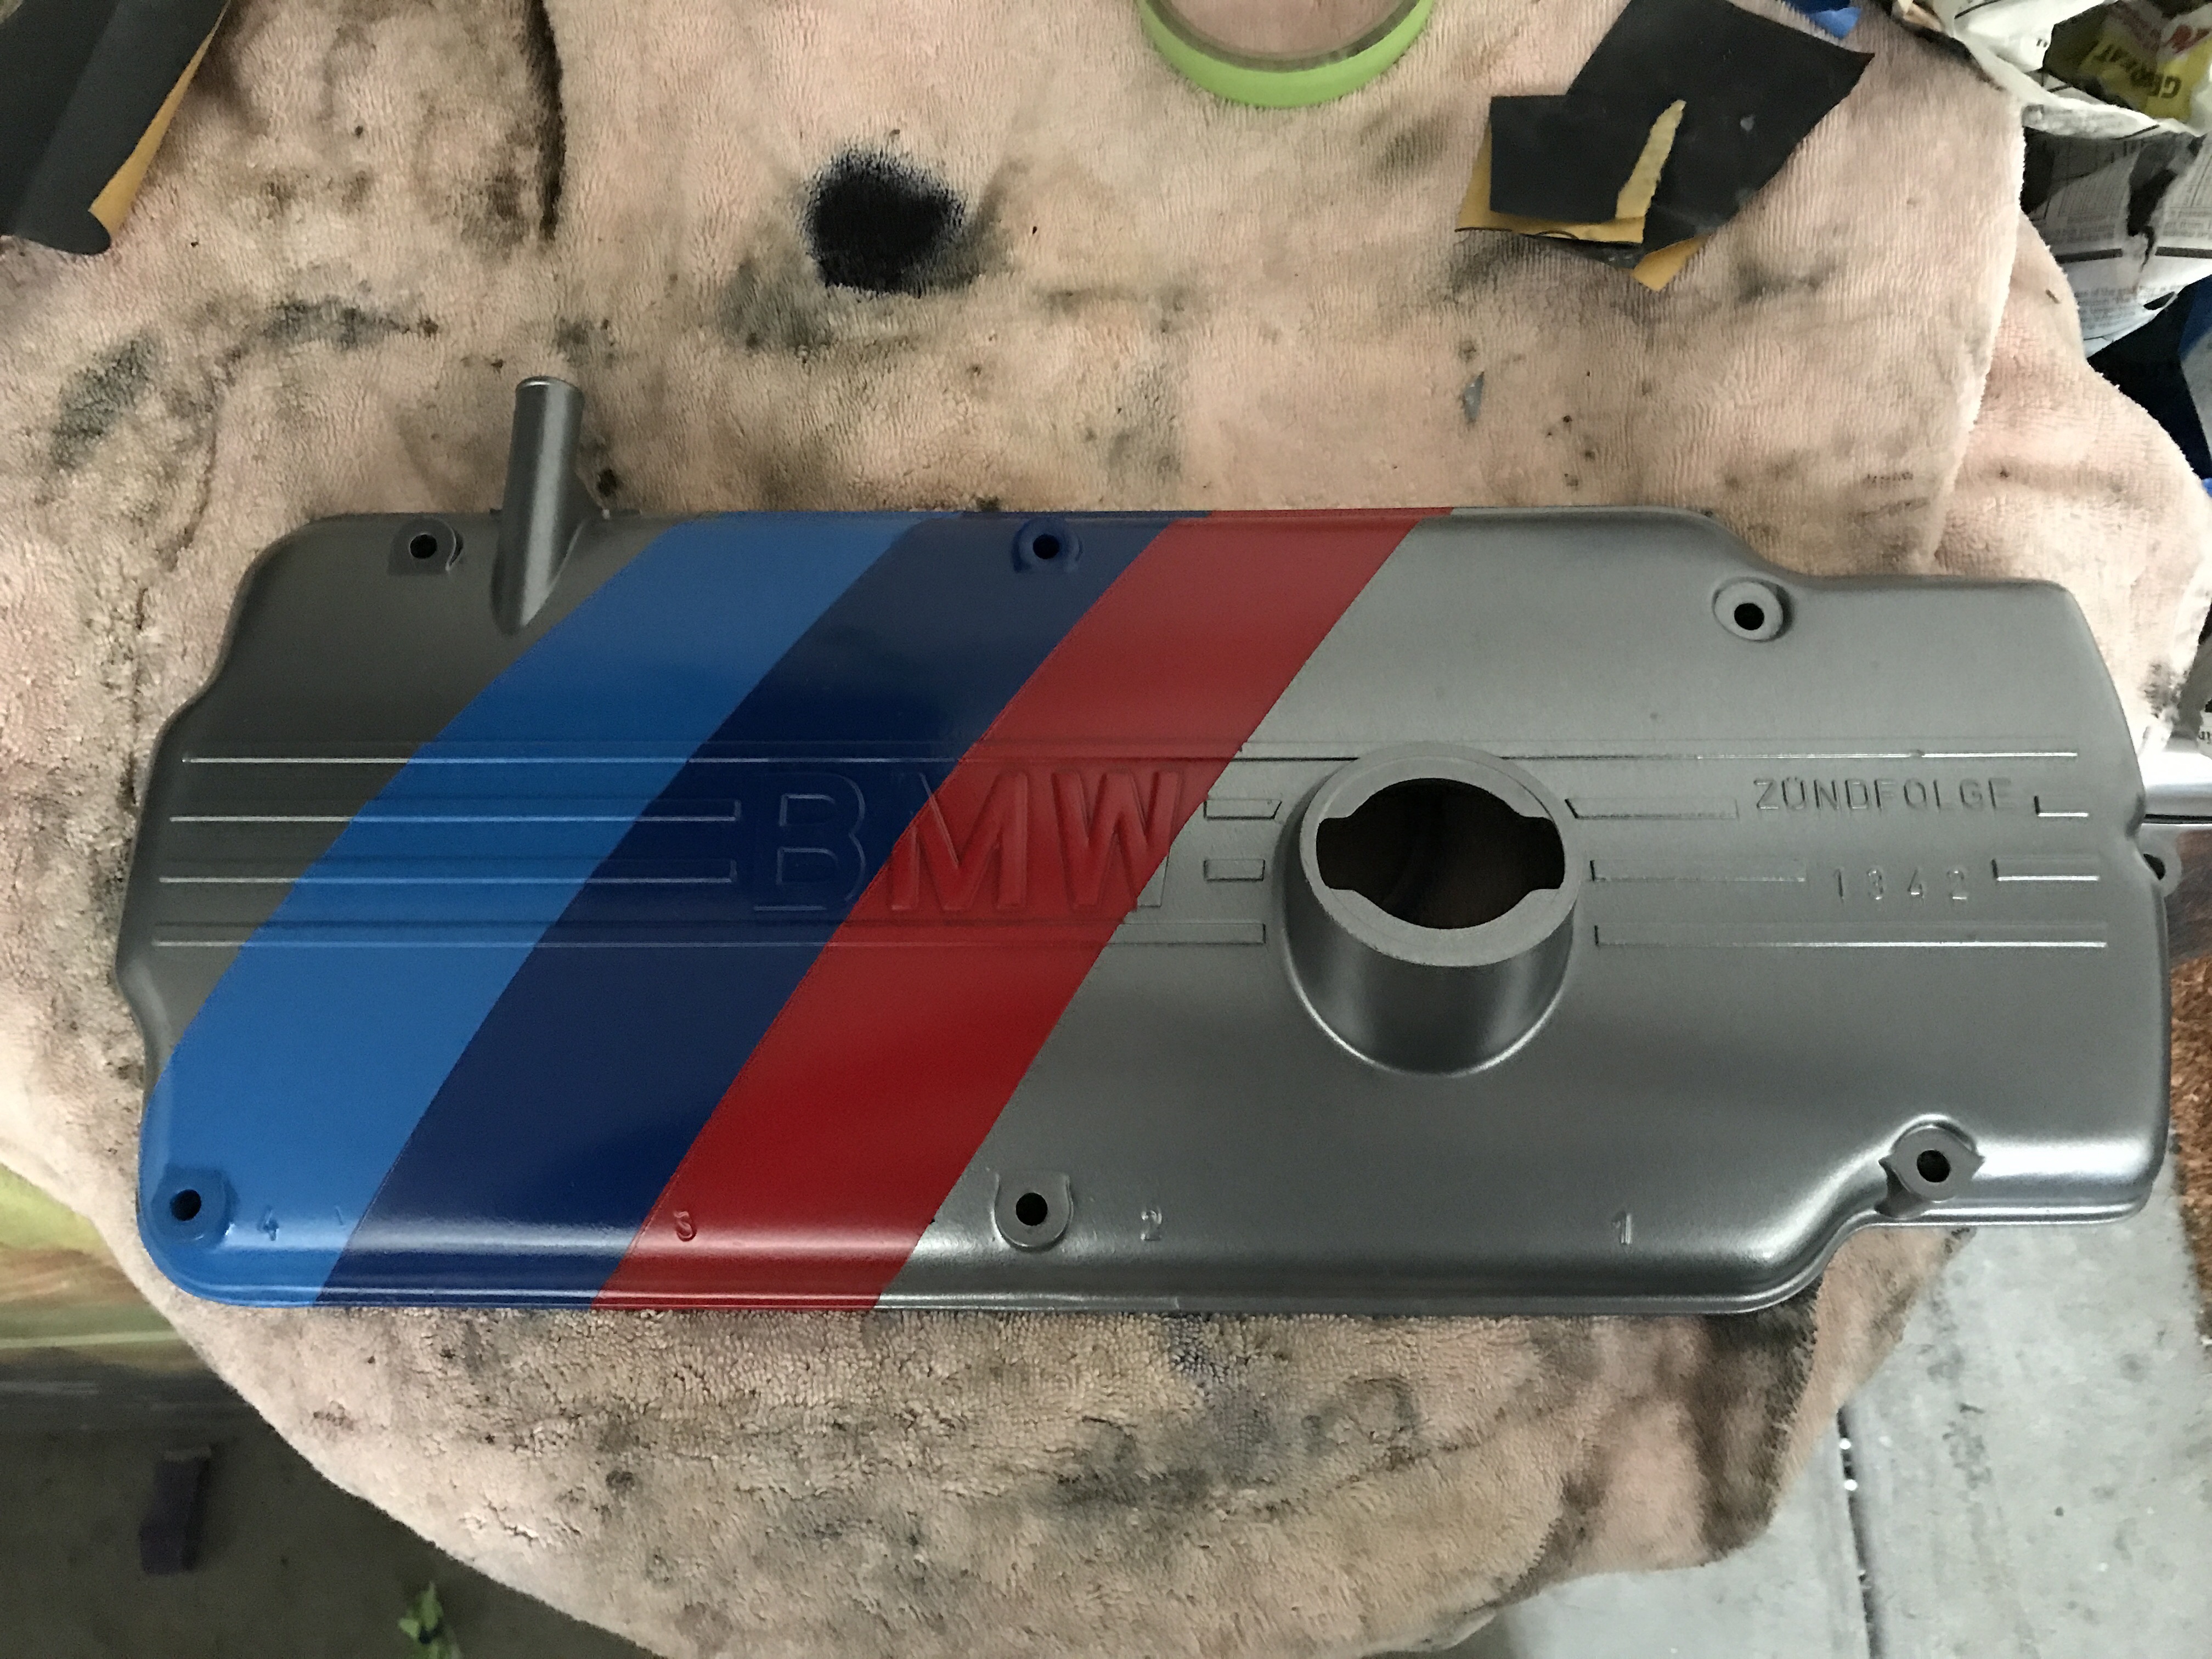
So I went at it for the next attempt. This time I sanded down the old paint. Then I promoted it again and shot it with the same medium charcoal metallic grey I used on my wheels. Then I made the strip a a bit wider and started at one corner of the valve cover. The paint held up to the masking tape and the results were pretty damn good!
I hit this with a good amount of clear coat and I was pleased. I made the stripes a little bigger and I think they are just right. Then I made the mistake of attempting to dremel the BMW down to the metal and well that sort of ruined the middle blue stripe. So I masked it again and prim red and shot the middle stripe and I got some overspray and it just wasn’t as clean as it was originally. The masking tape also pulled the clear coat off in spots so I sanded it down and shot it again with the clear and it just wasn’t that good.
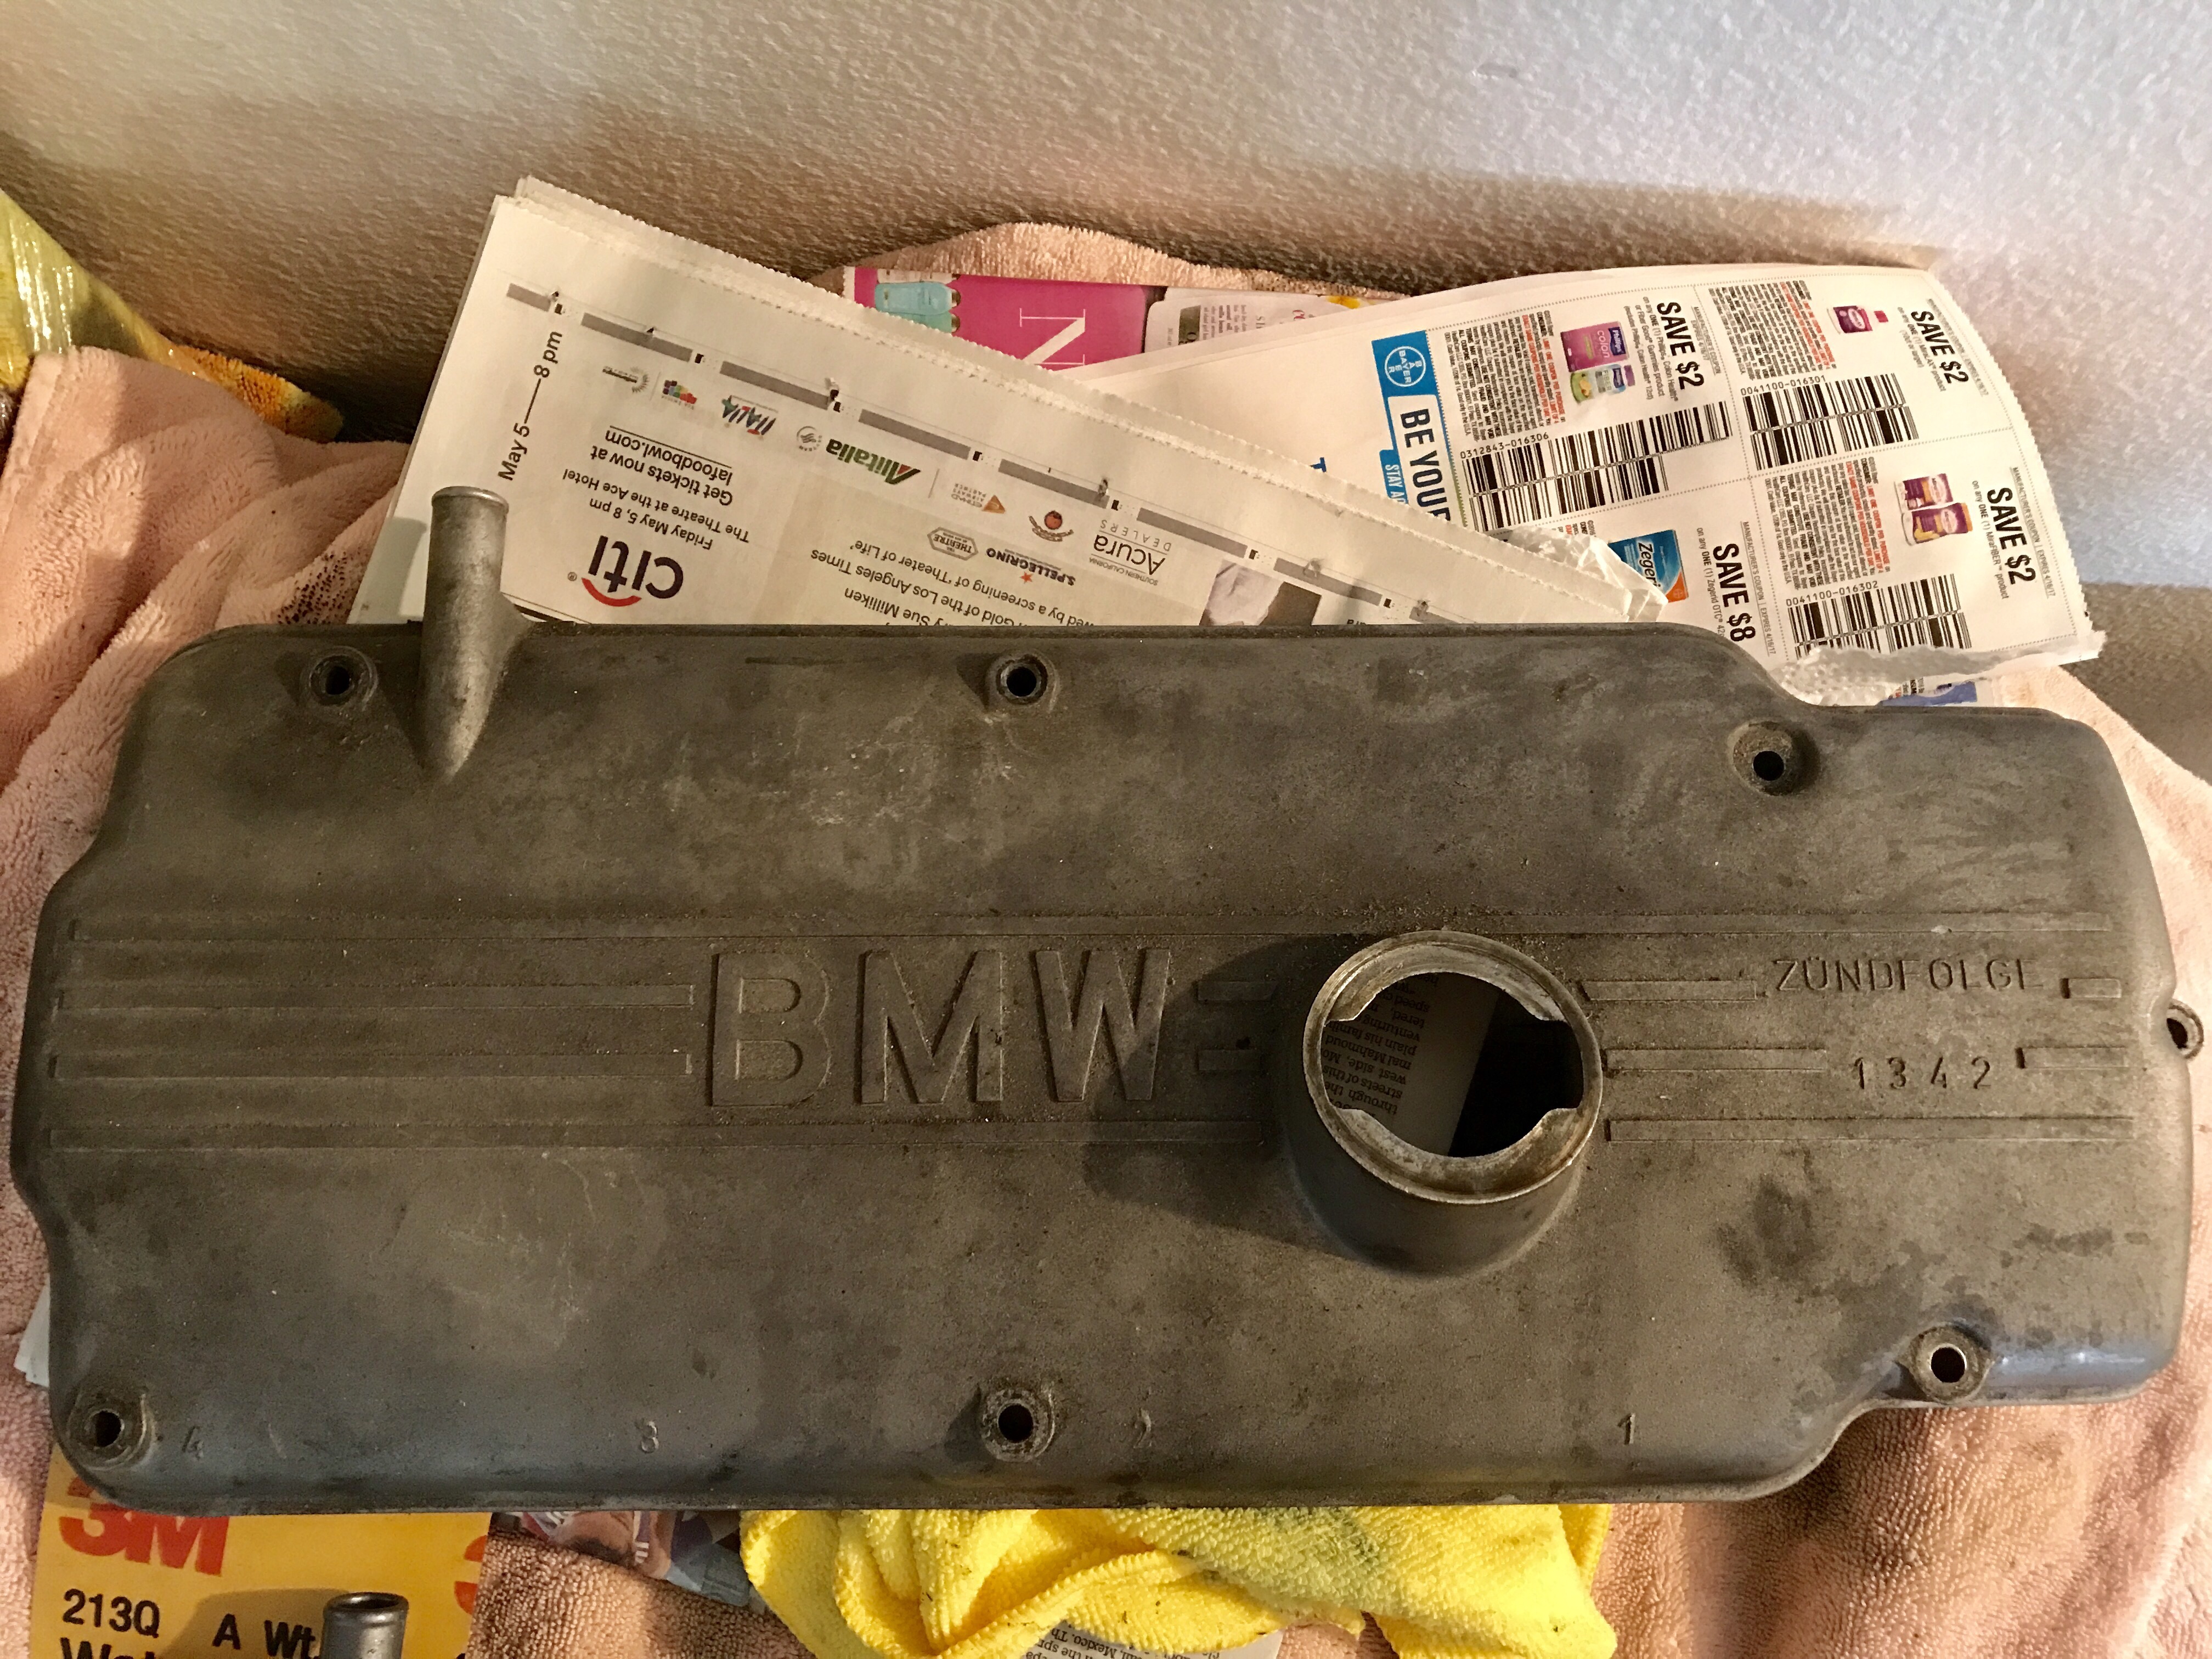
So I grabbed a spare valve cover and started again but this time wiser from the lessons learned!
Here is the starting point
I doused it with degreaser and scrubbed it then attacked it with wet 400 sandpaper to take the thought texture down a bit as well as clean it and give the primer a nice surface to adhere to.

Here it is after the primer coat. Wow! Looks amazing already! I hit the texture lightly with wet 800 grit paper. Then proc ended to give it 3 coats of medium metallic grey duplicolor paint.
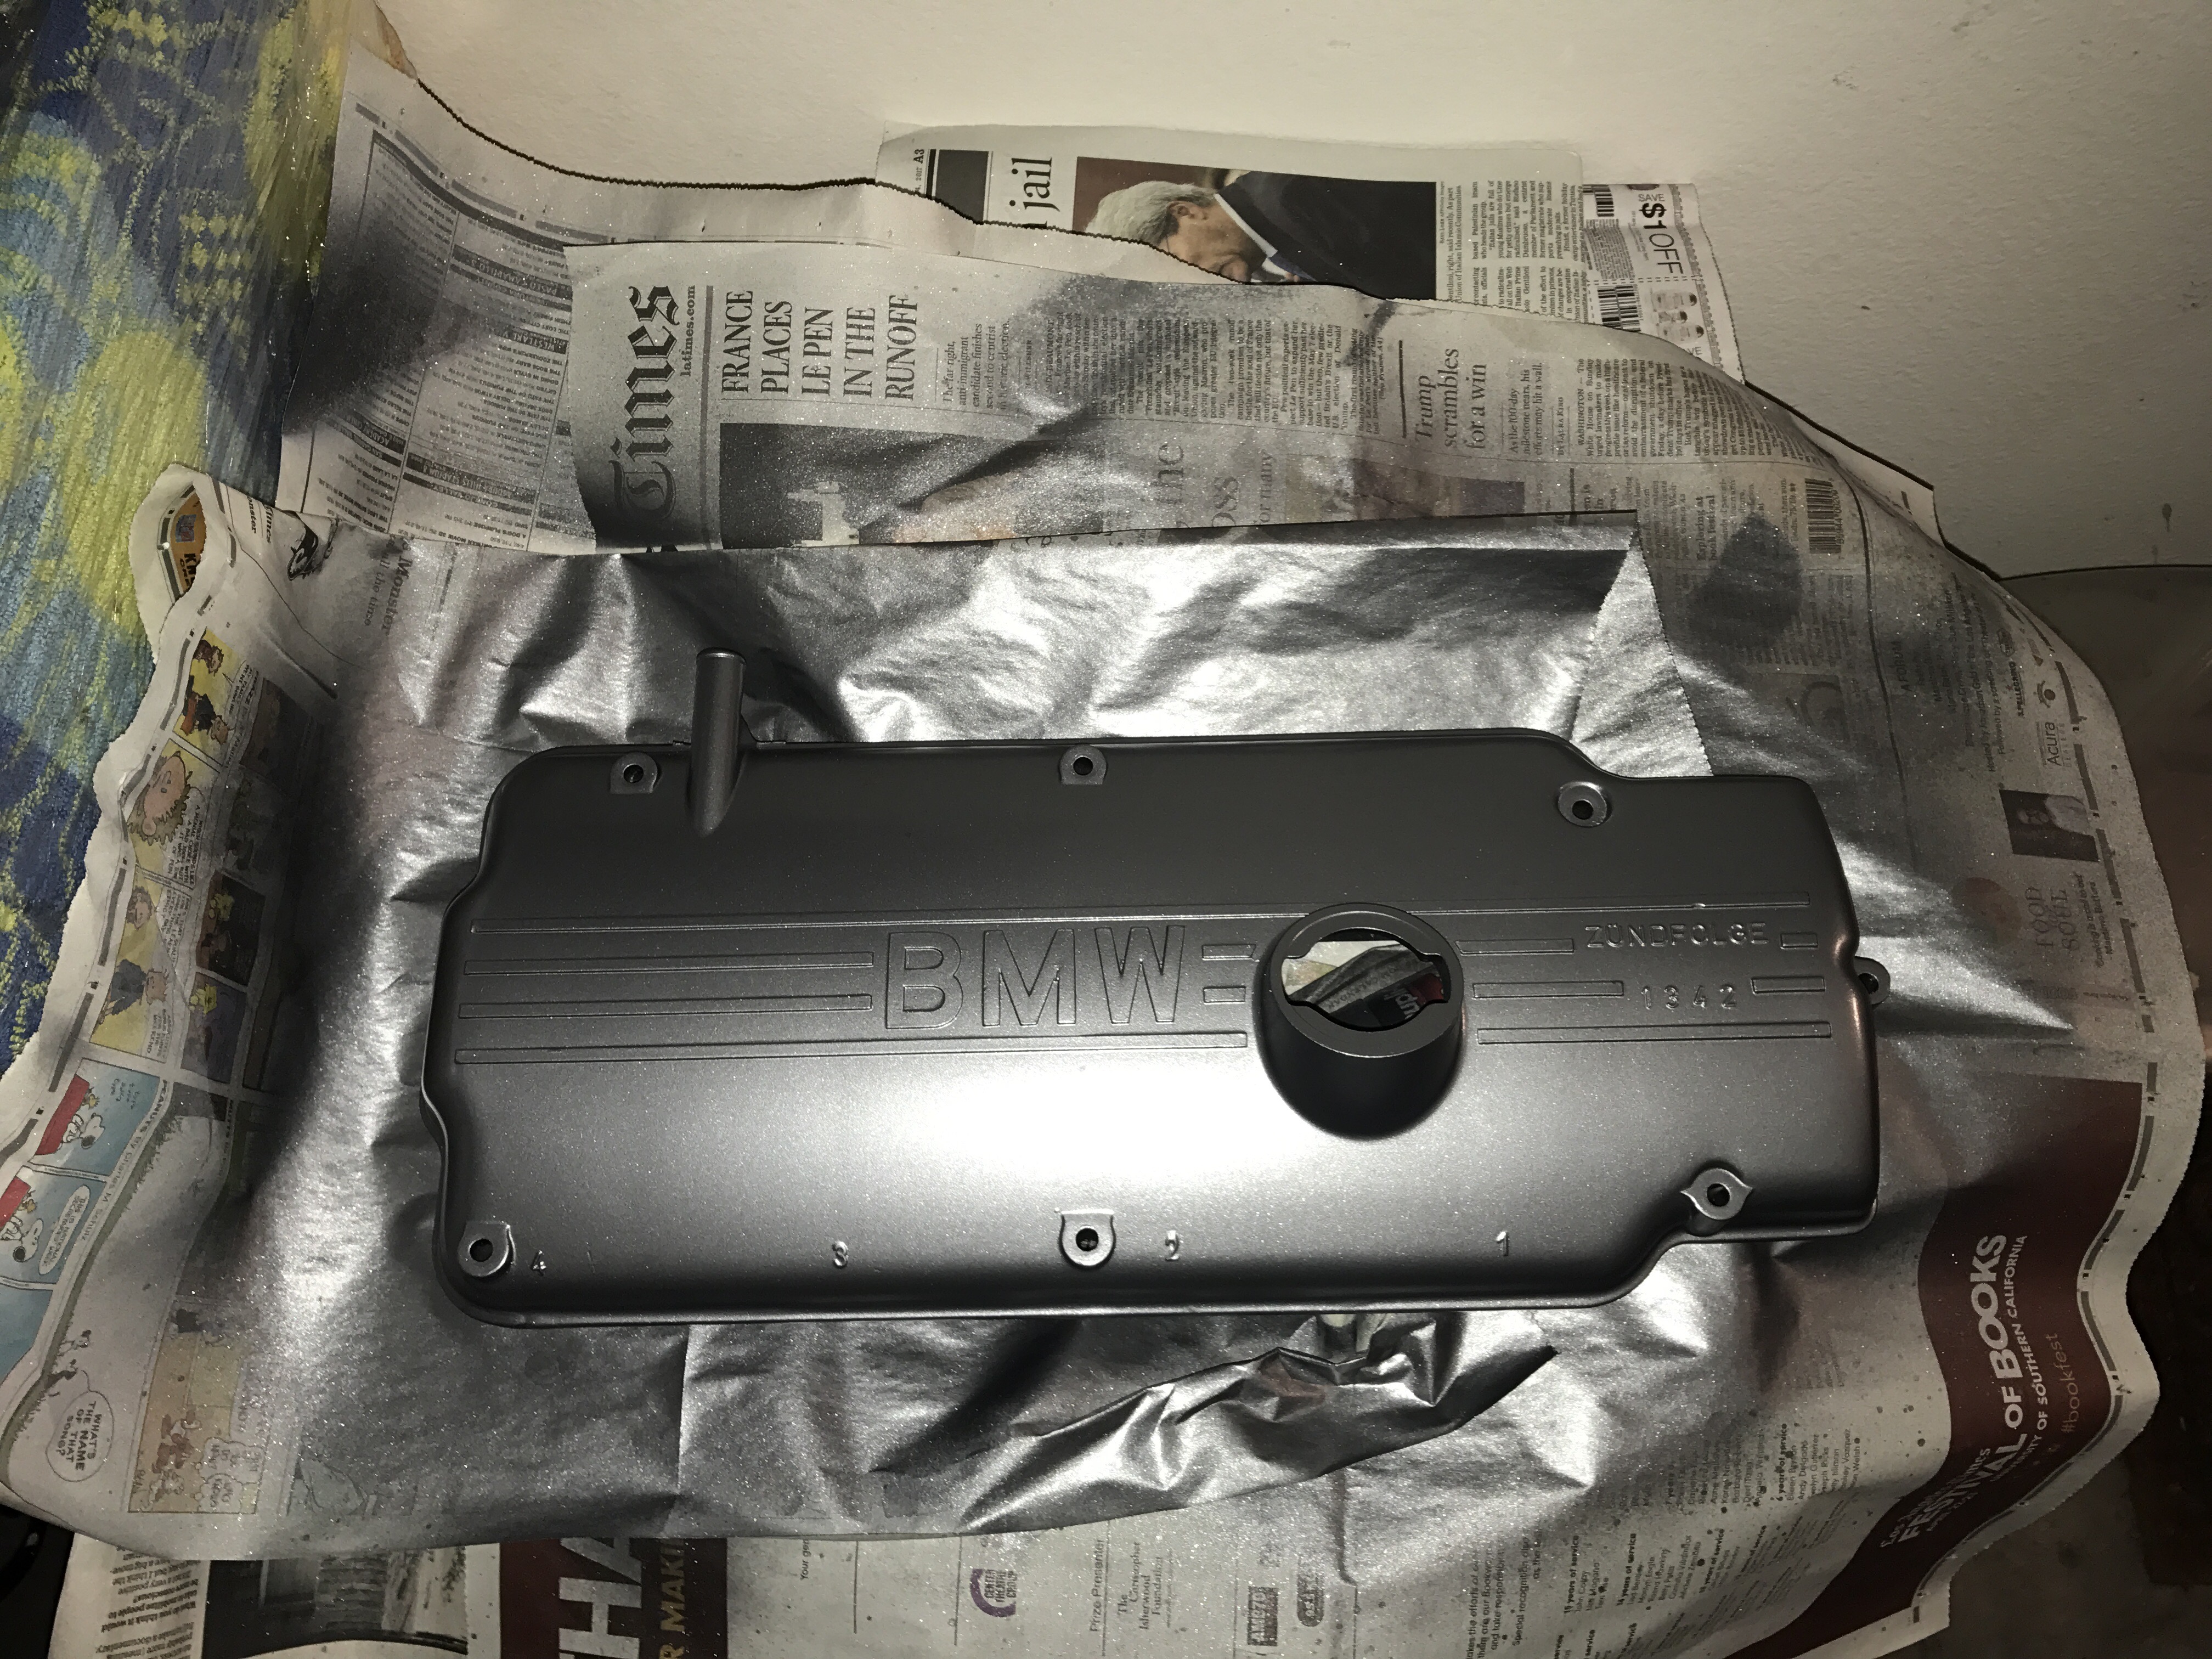
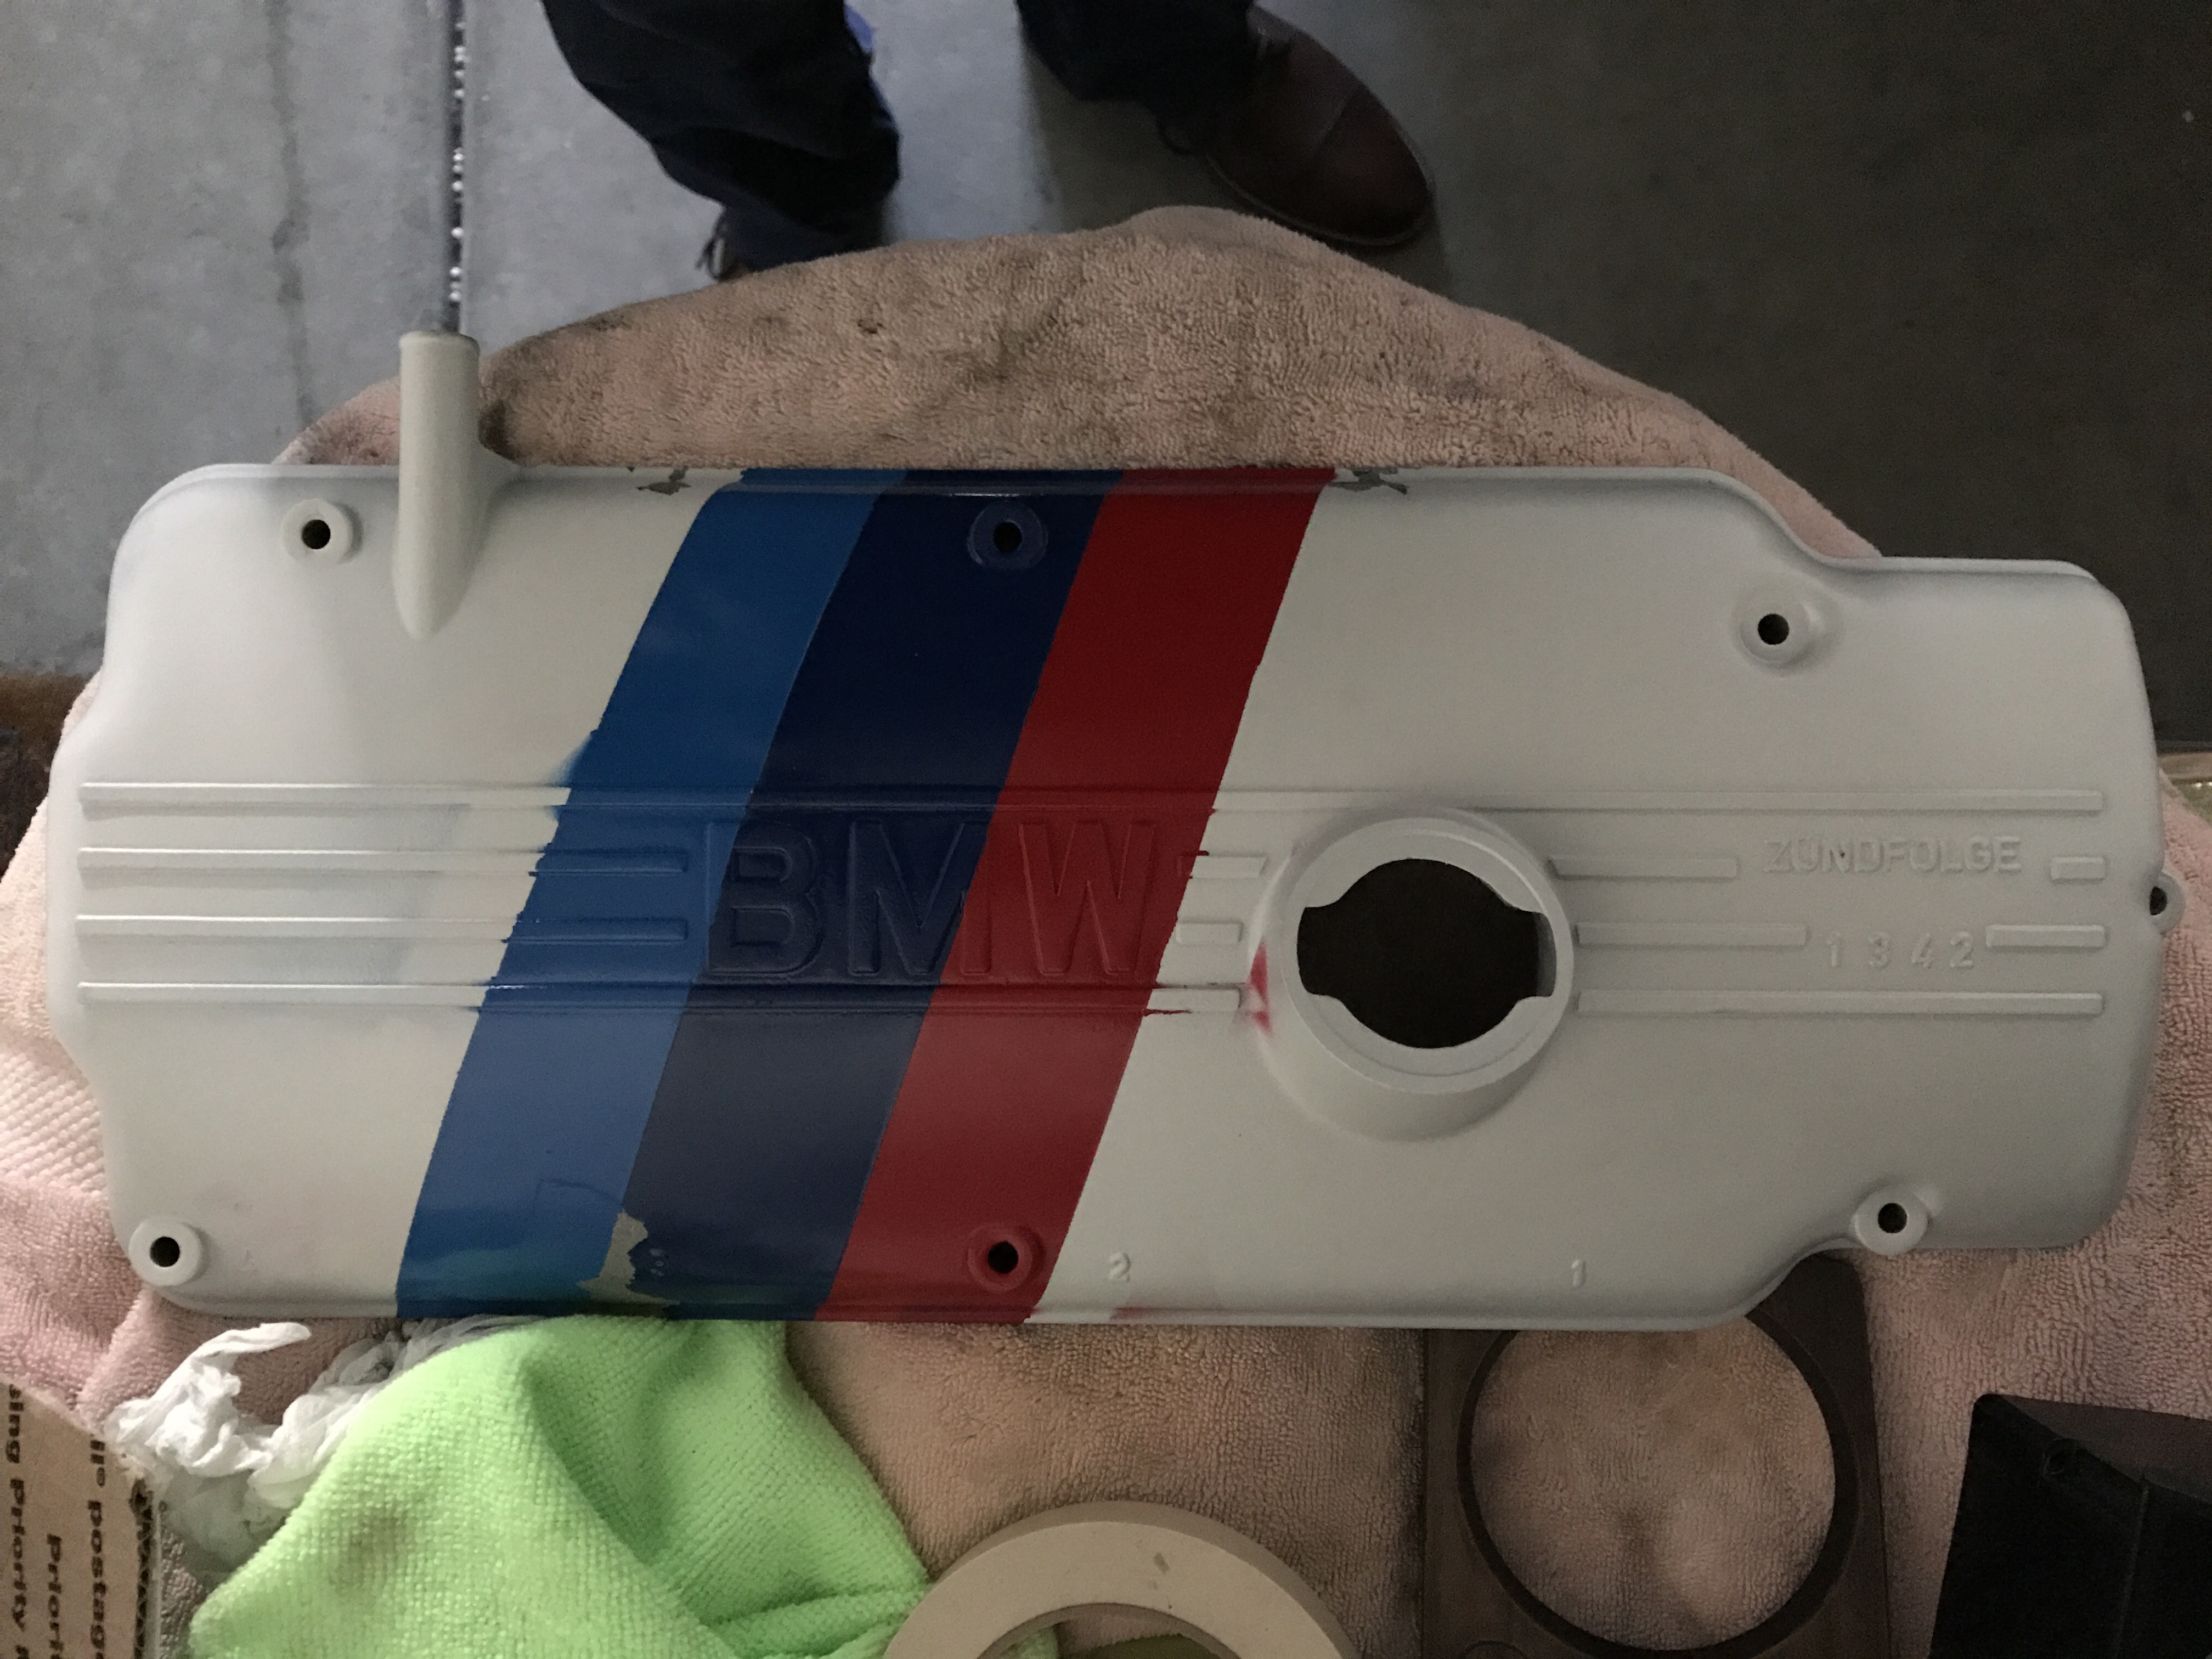
Now it’s ready for the masking and the stripes. This is a simple yet tedious task. Be very diligent in the masking process. If not then you will get overspray and lines that are not straight. Get it right and you will get sharp and crisp lines on the edges of the stripes.
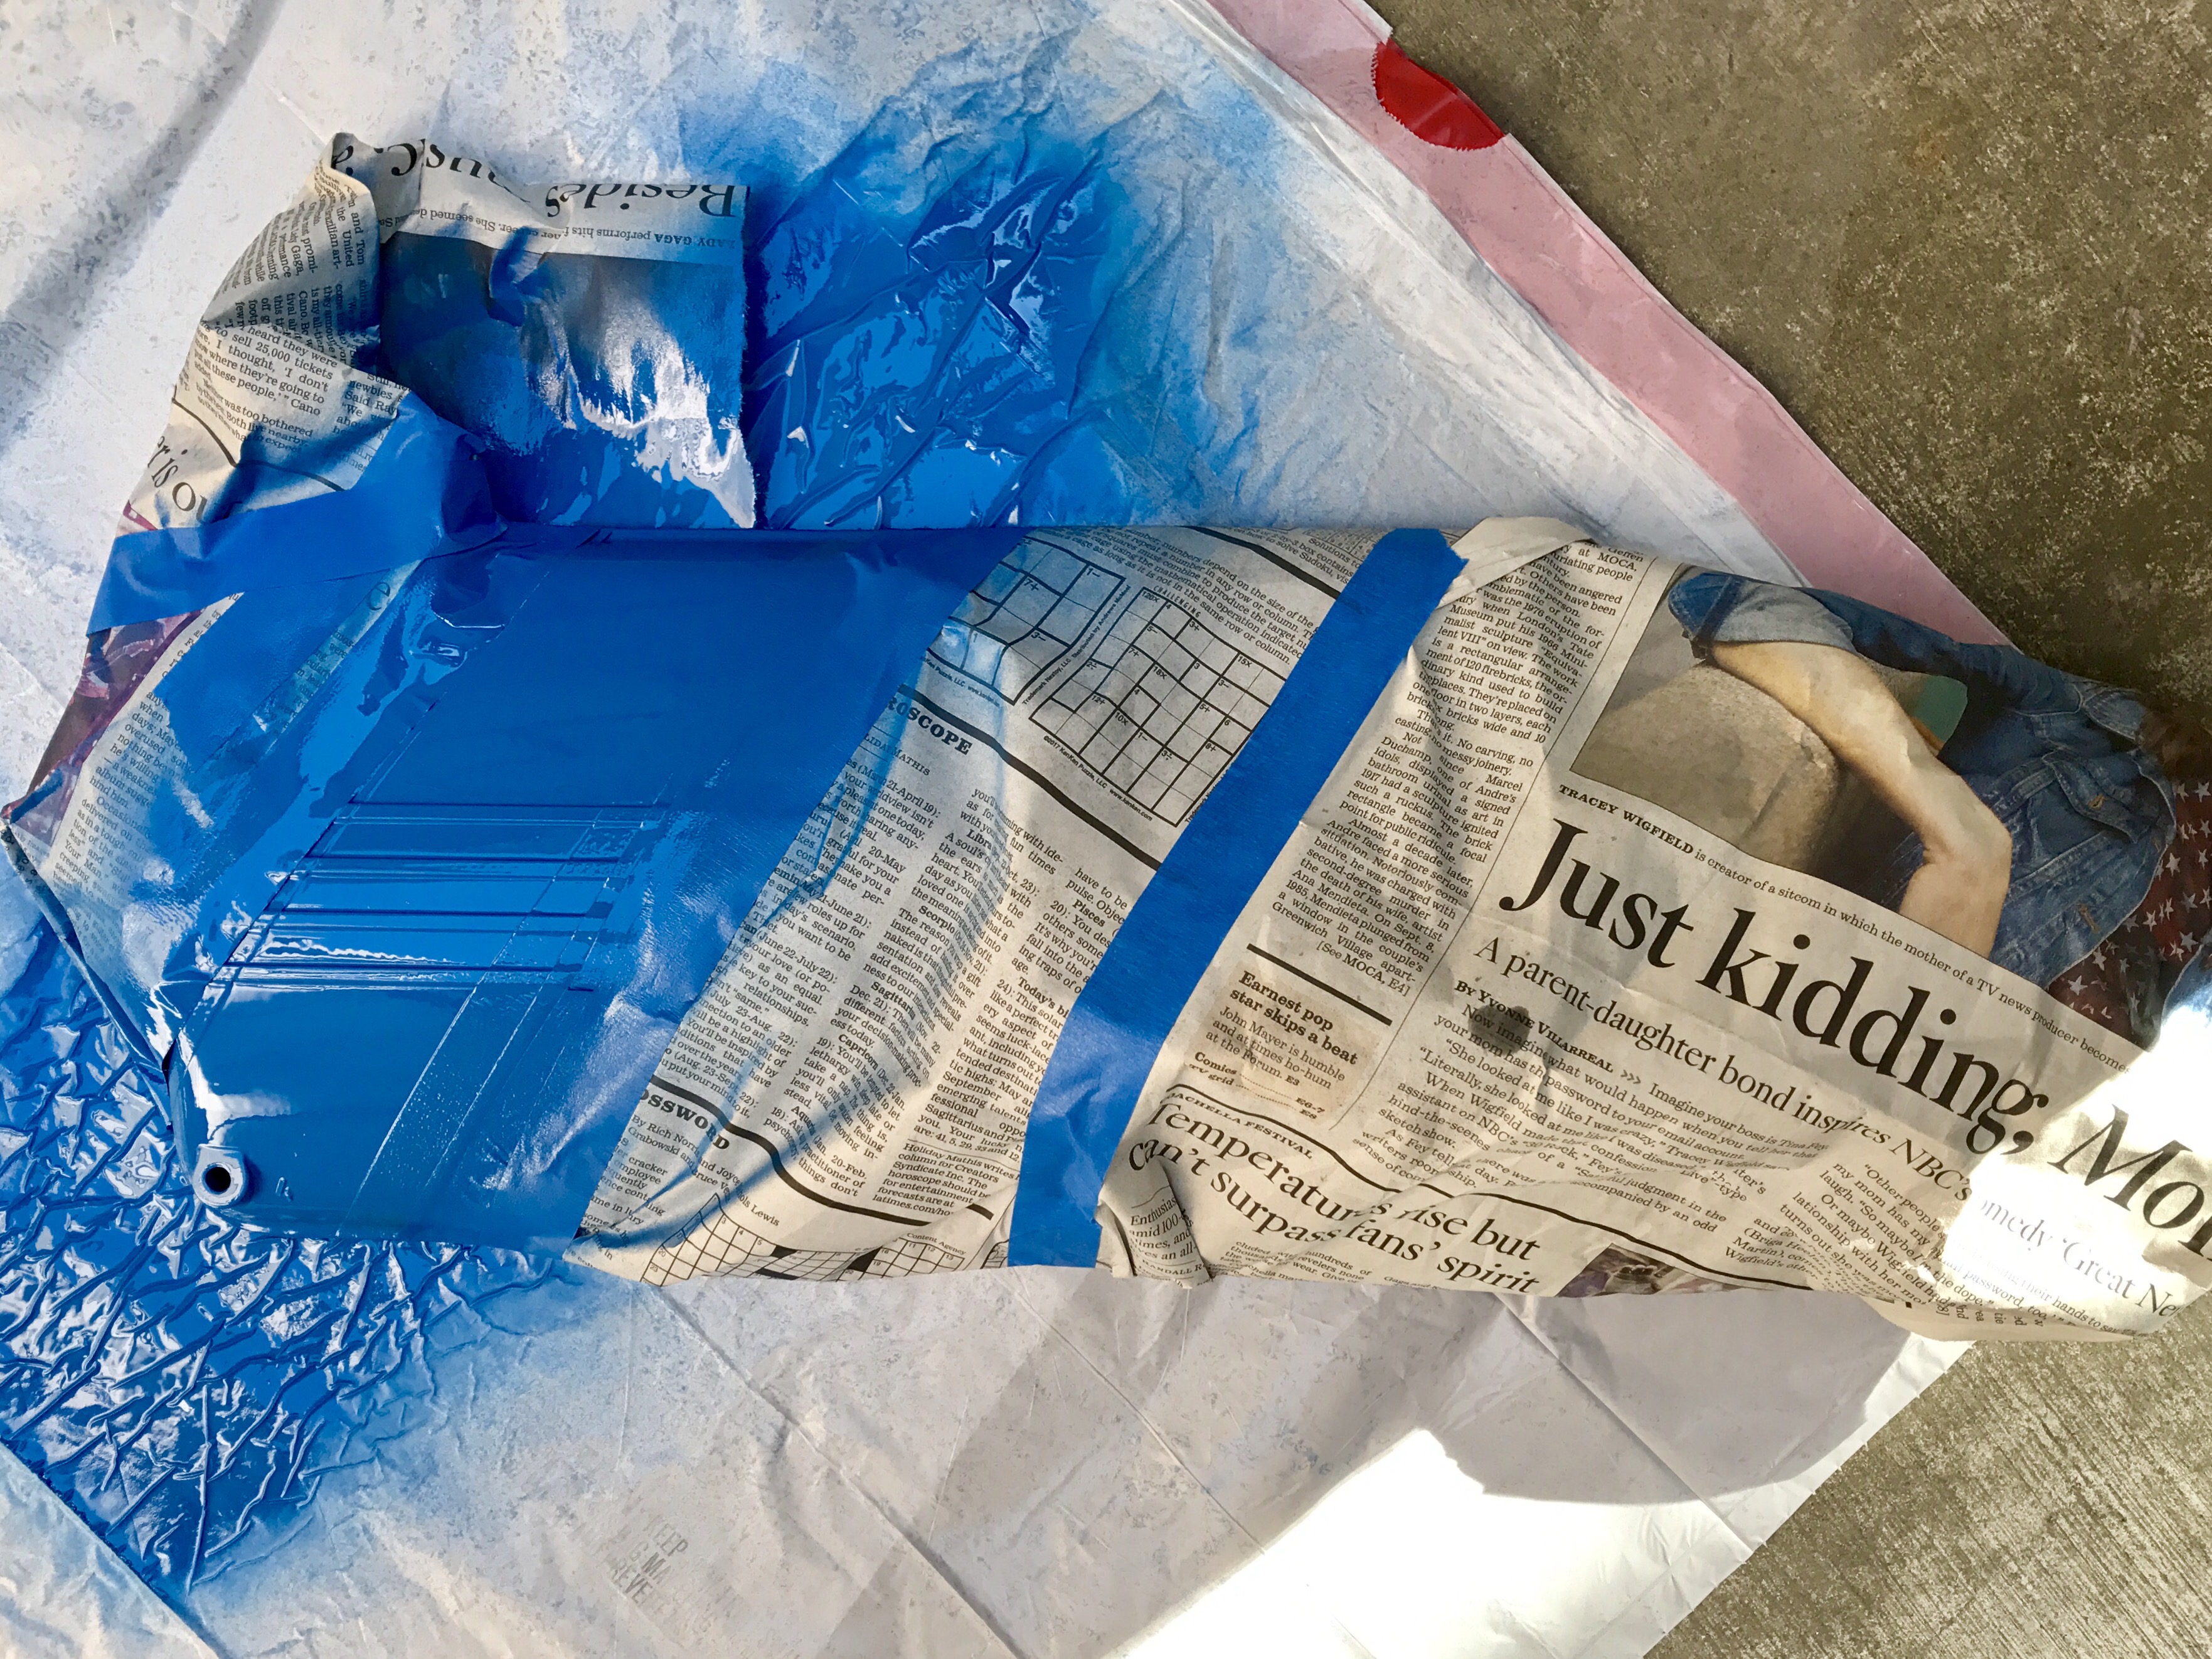
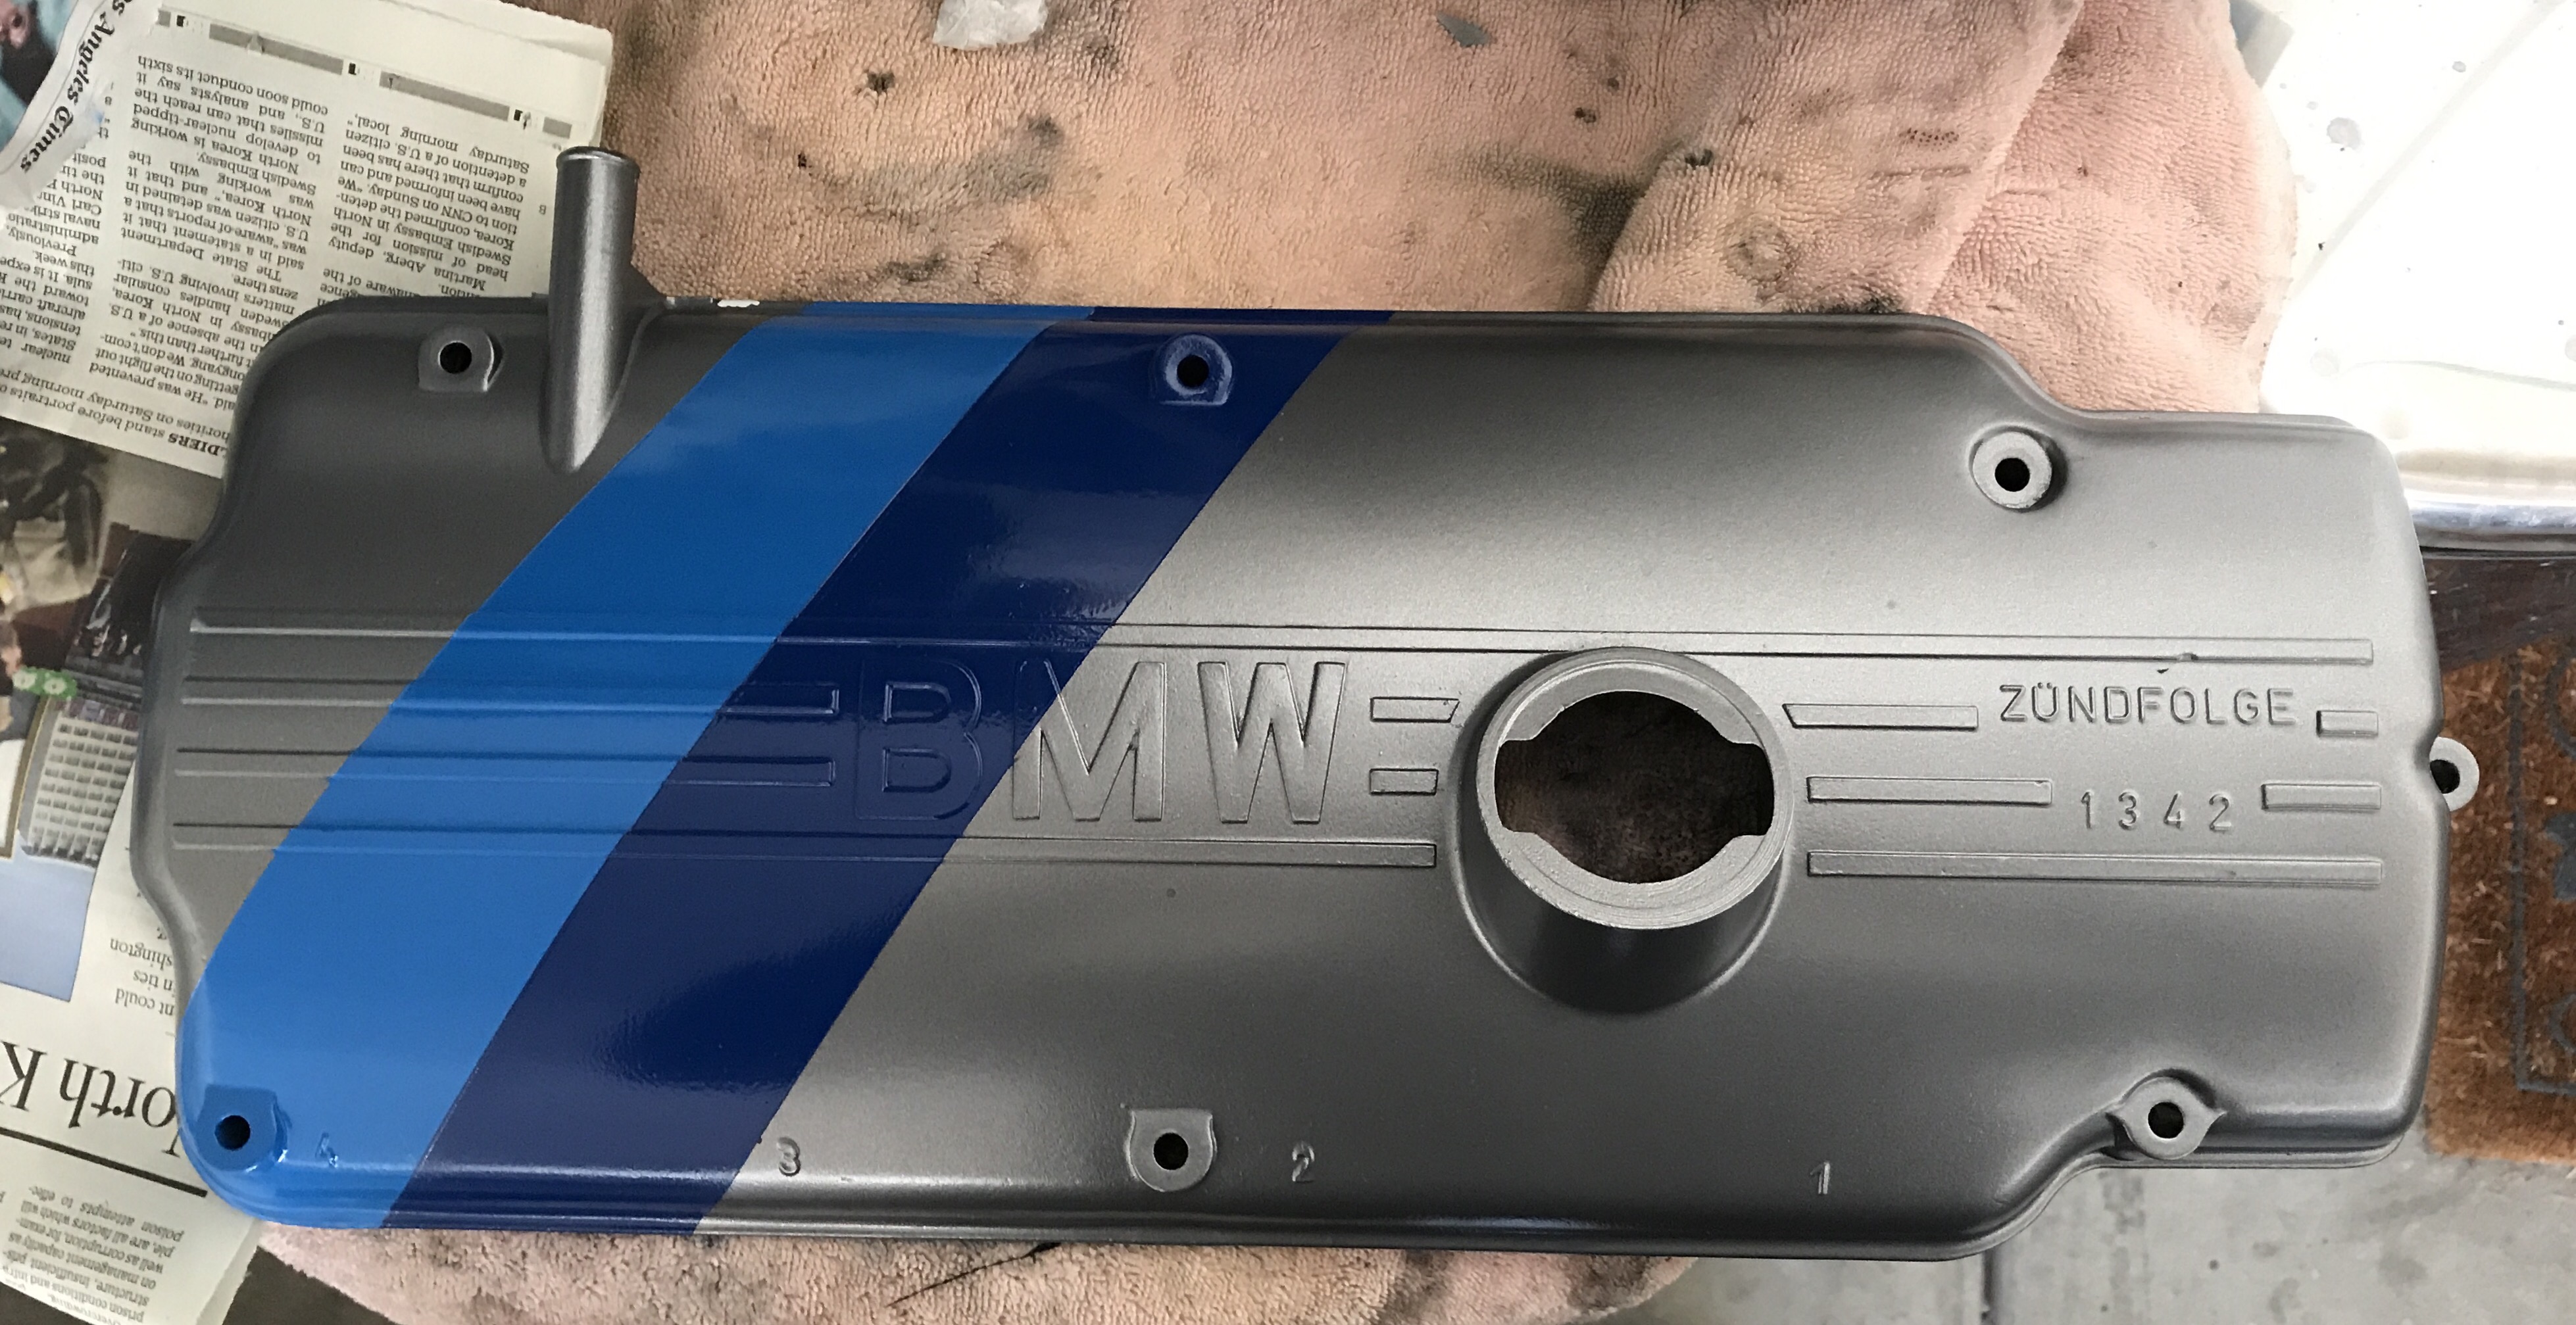
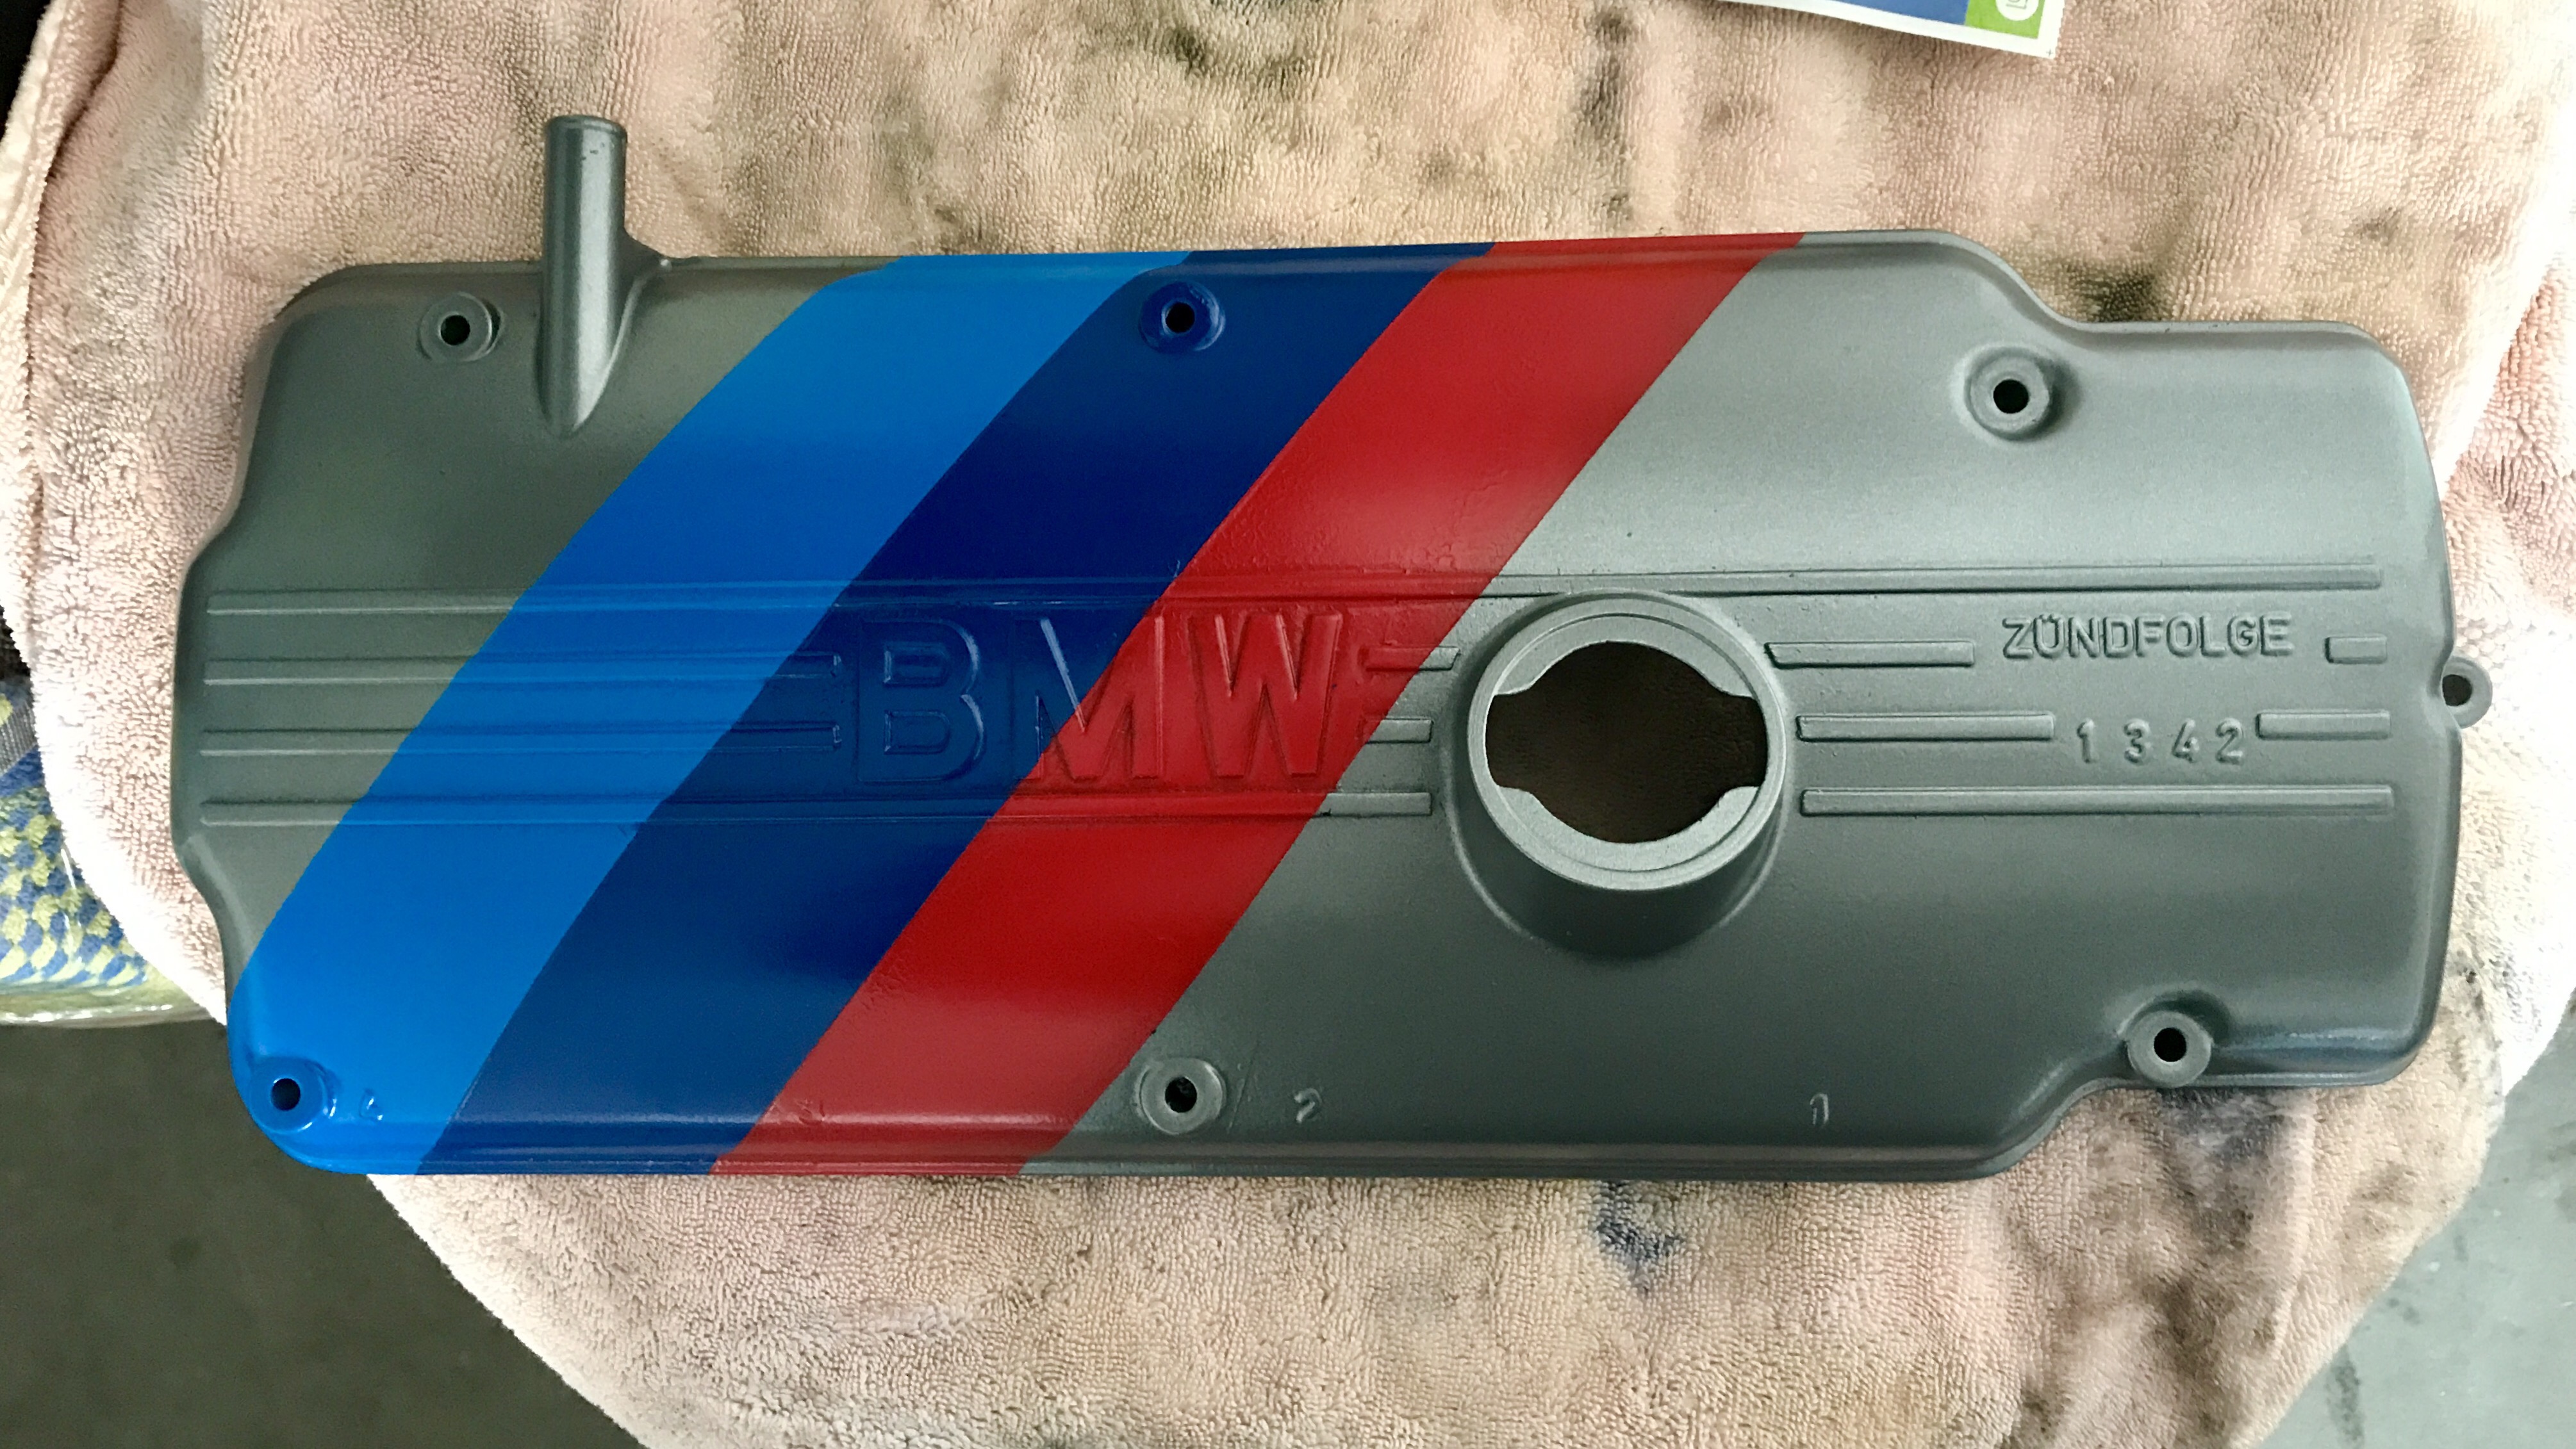
After the stripes and a few touch ups I then shot it with a few coats of clear. And here are the final results. Not bad!!! I like it a lot! It’ll look good in my engine bay as part of my engine bay cleanup project.