
So its been a few weeks since I installed the front sway bar and since I have heard the front bar is SO MUCH easier than the rear I have been putting it off. Until now. Today was the day! So here is how I did it…by the way it was a piece of cake!!! No issues and it well super smooth, thanks to the info on bmw2002faq.com I was able to get through the trickier parts with ease. I’l discuss those further below.
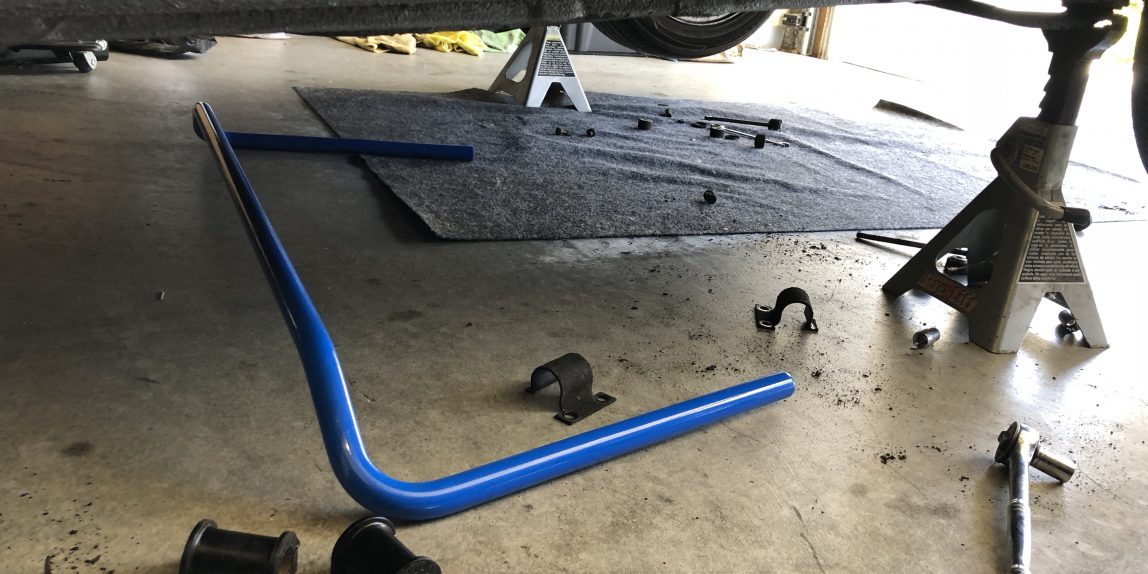
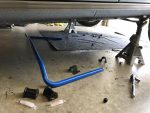
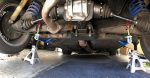
I started by jacking the car up and getting it up on jack stands. Once I did that I loosened the 4 bolts holding the bar to the frame and then removed the end links and bam, the bar was free. Wow, that was easy. Took longer to jack up the car than to remove the stock rear sway bar. Ok now for the fun part. Lets get the new bar installed.
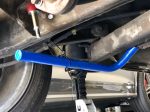
The cool thing about the Ireland Engineering bar is its a thicker bar with adjustable drop links so you can add more tension for a stiffer bar if you like. It also mounts with the stock hardware in the stock location. So lets think about that. Thicker bar, means it will have a thicker bushing and when trying to use the stock hardware, the bracket to hold the bushing will not fit easily because its further away from the frame because the bar and bushing are thicker. Thats the tricky part. The stock bolts are a specific length because if they were longer then they would hit the frame. So can’t just use longer bolts. People on the FAQ said they used vise grips and c clamps and all sorts of things to try and get the bushing mounting bracket. Heres the simple thing that made this all very easy.
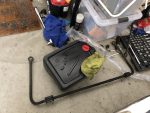
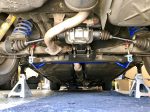
3 screws. Two 25mm long and one 30mm long.
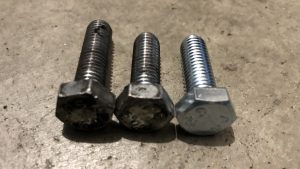
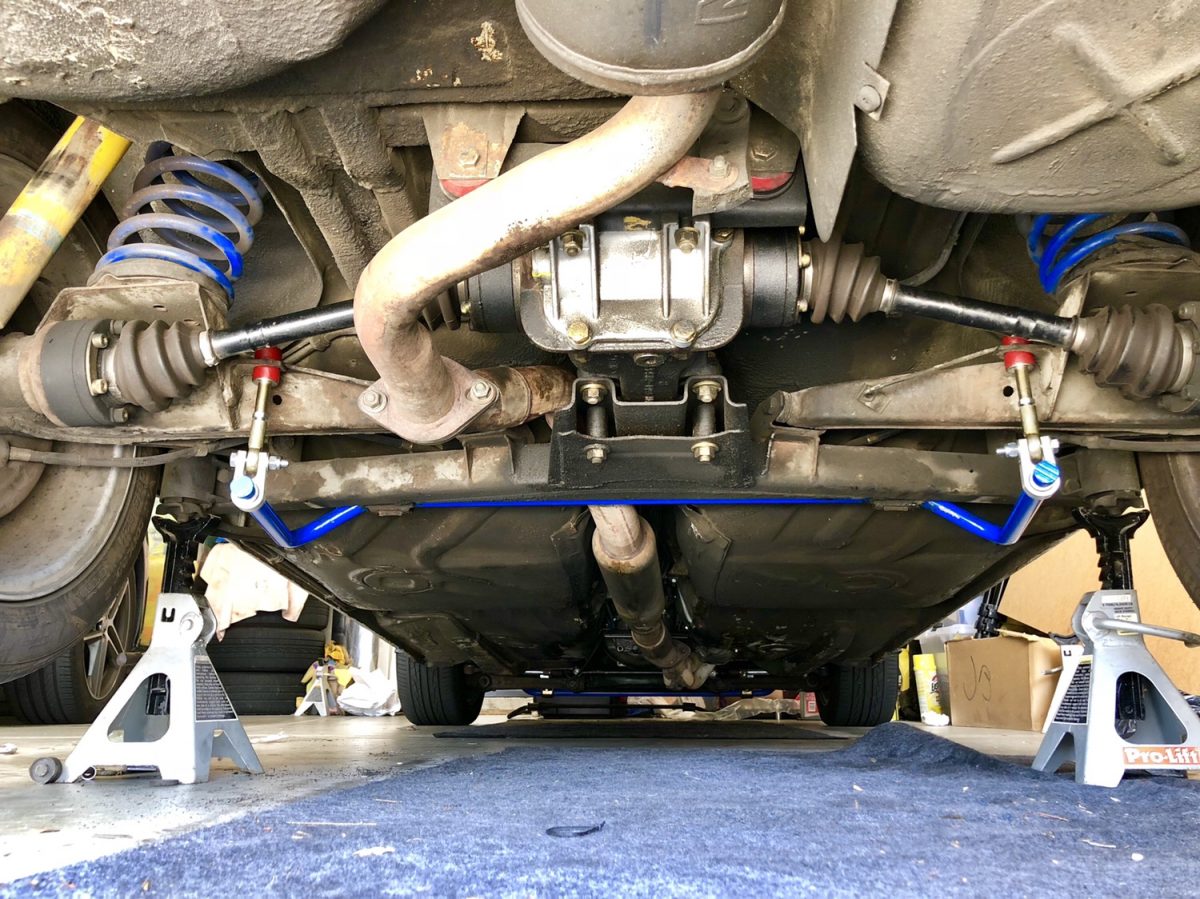
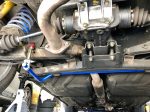
I started with the long screw and screwed it in as far as it would go. This would get the busing in the correct spot. Then I used the 25mm bold on the other hole and screwed that one all the way in as far as it could go. This now started to compress the bushing. Then I removed the 30mm bolt and replaced it with the 2nd 25mm bolt. This allowed me to start to compress the bushing and tighten the bracket enough that the I could remove the first 25mm bolt and replace it with the actual mounting bolt. Then I removed the 2nd 25mm bolt and put in the second mounting bolt and then repeated on the other side. BAM! That wasn’t hard at all!!
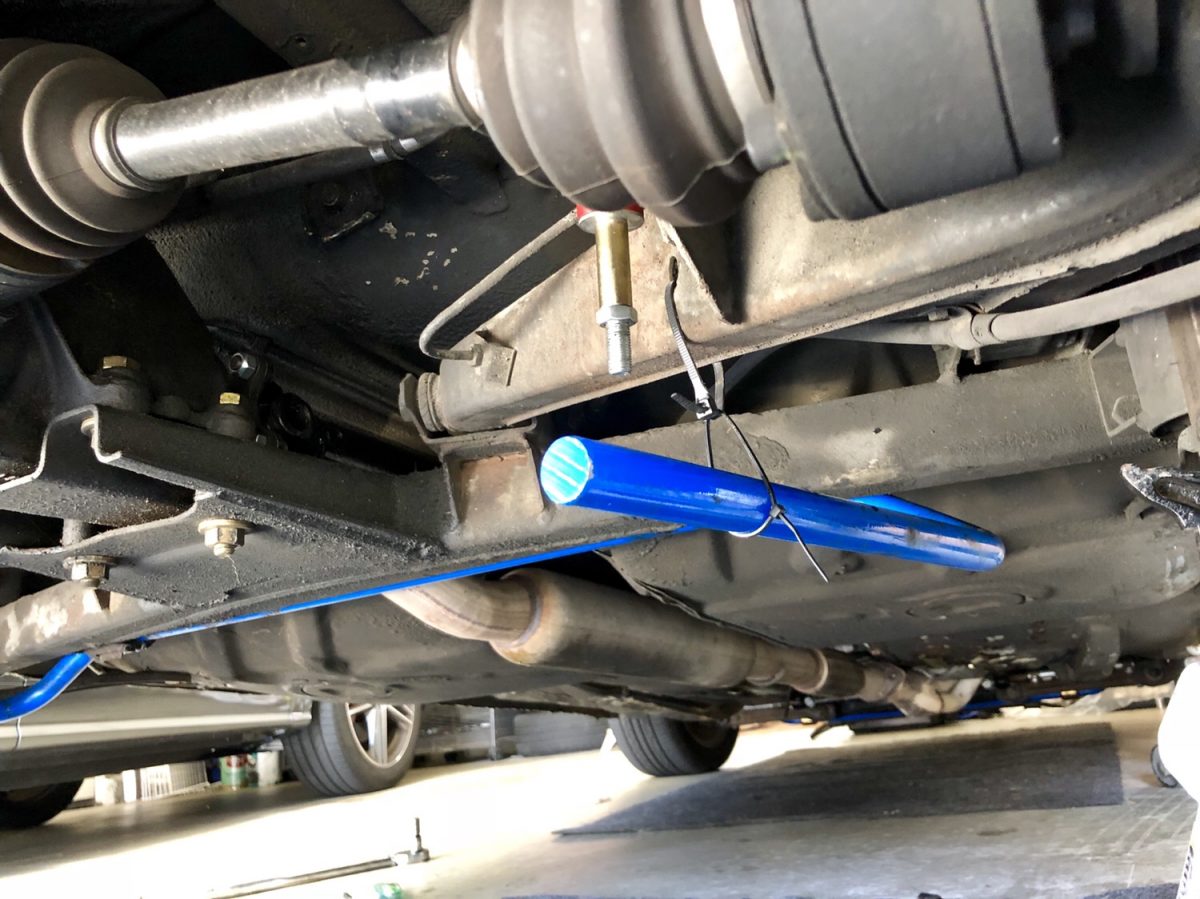
One other tip was that while I was screwint this all into place I had the bar supported by zip ties. This will make it easier to maneuver the bar in place without worrying about holding it up.


Looking good sir. I was hoping to see you at the 50th Anniversary Of The 2002 in Hot Springs NC two weeks ago. I was looking for you. I know I won’t be around for the 100th!