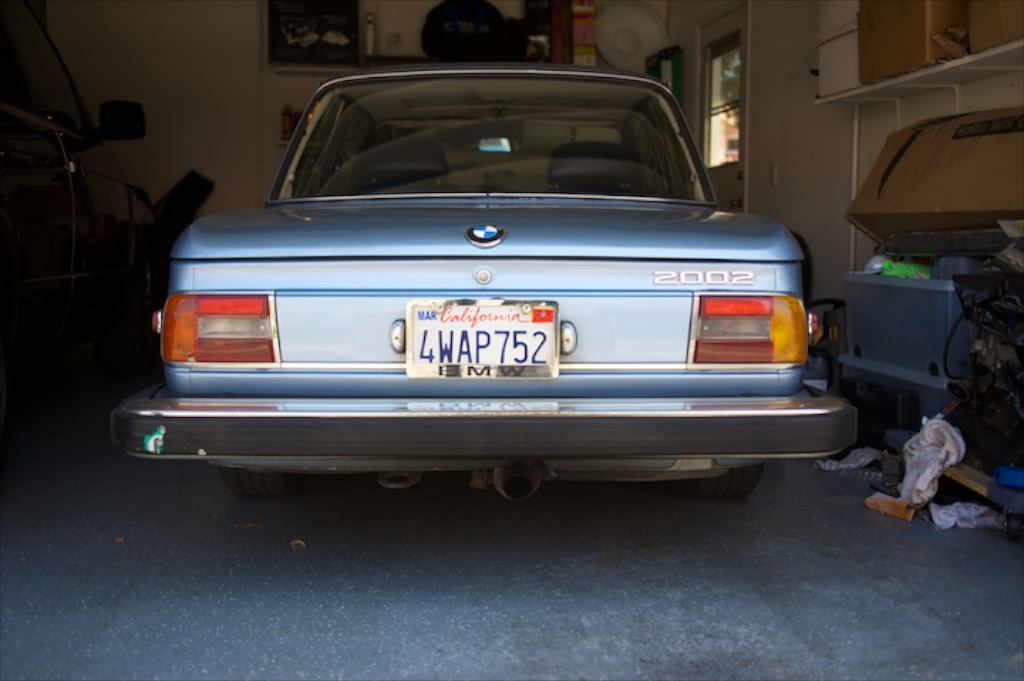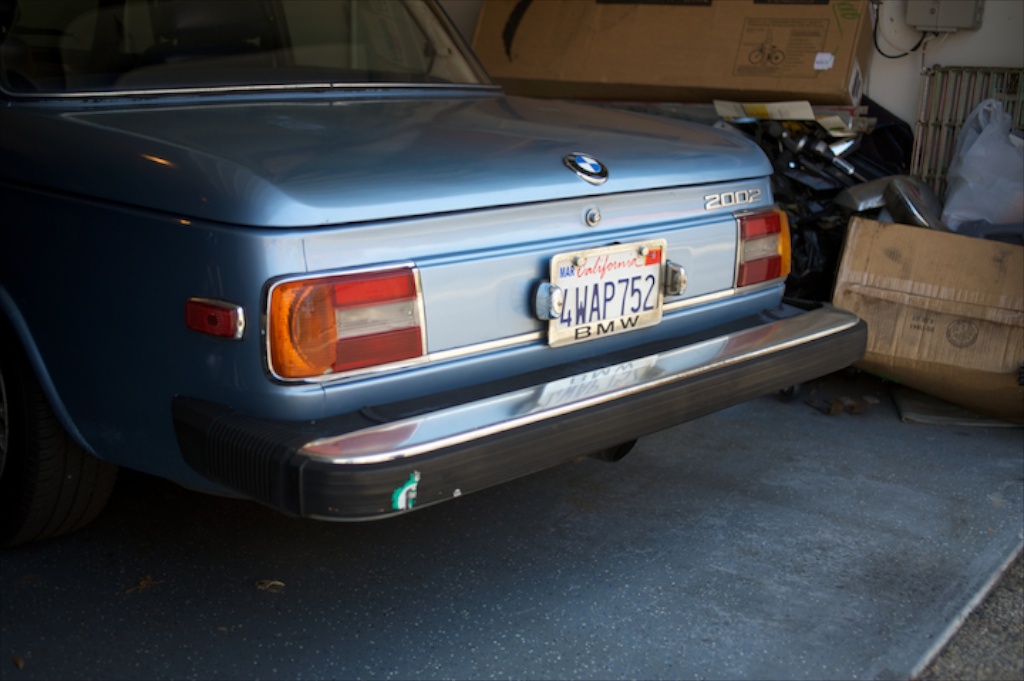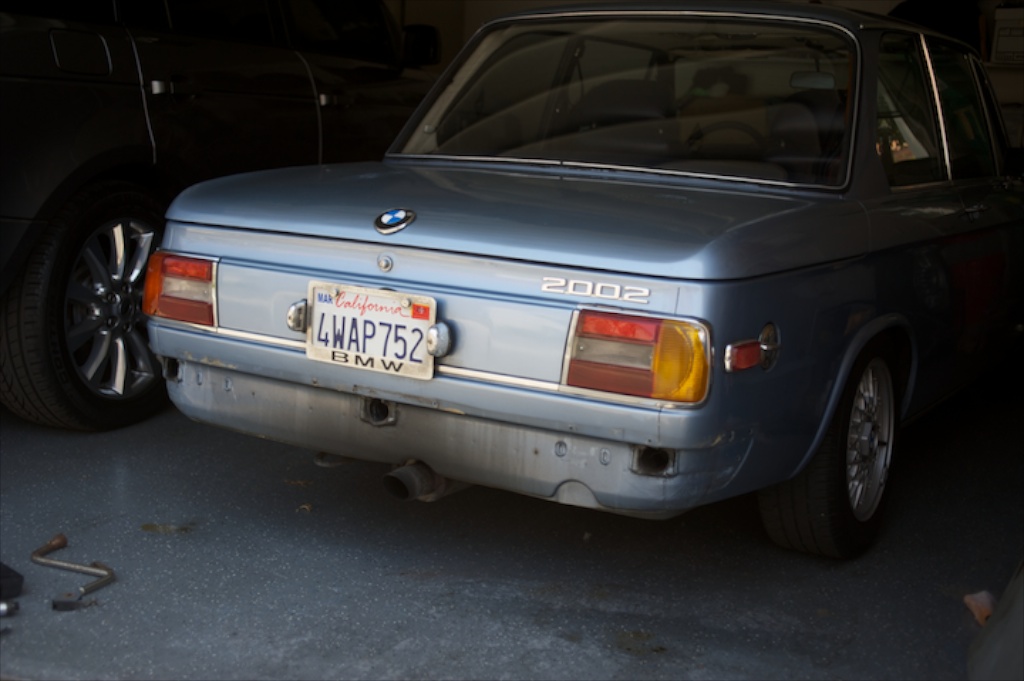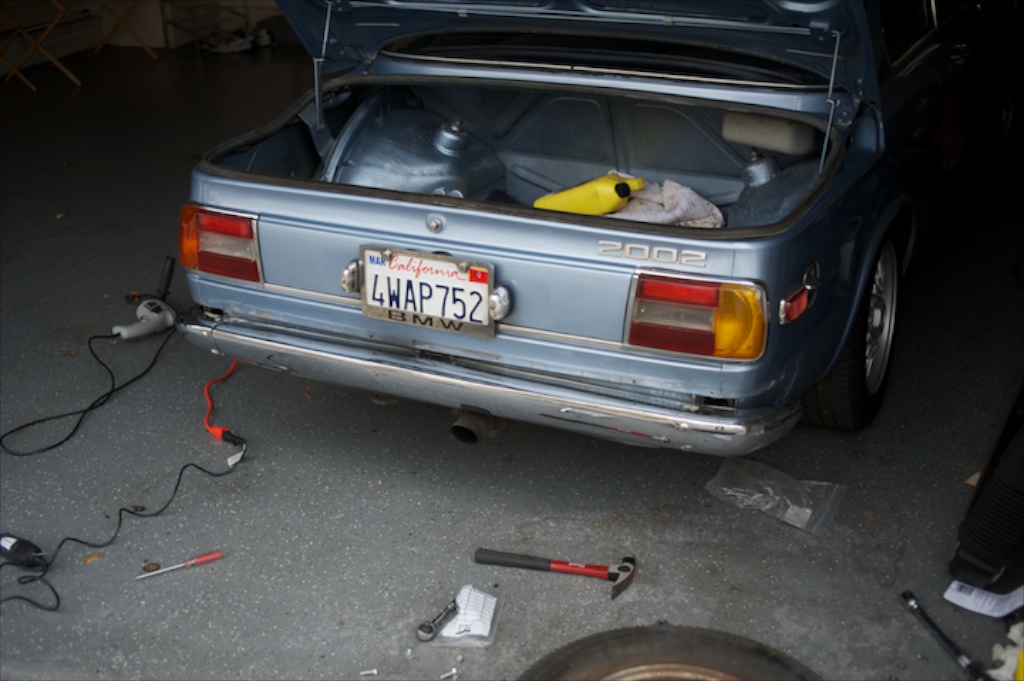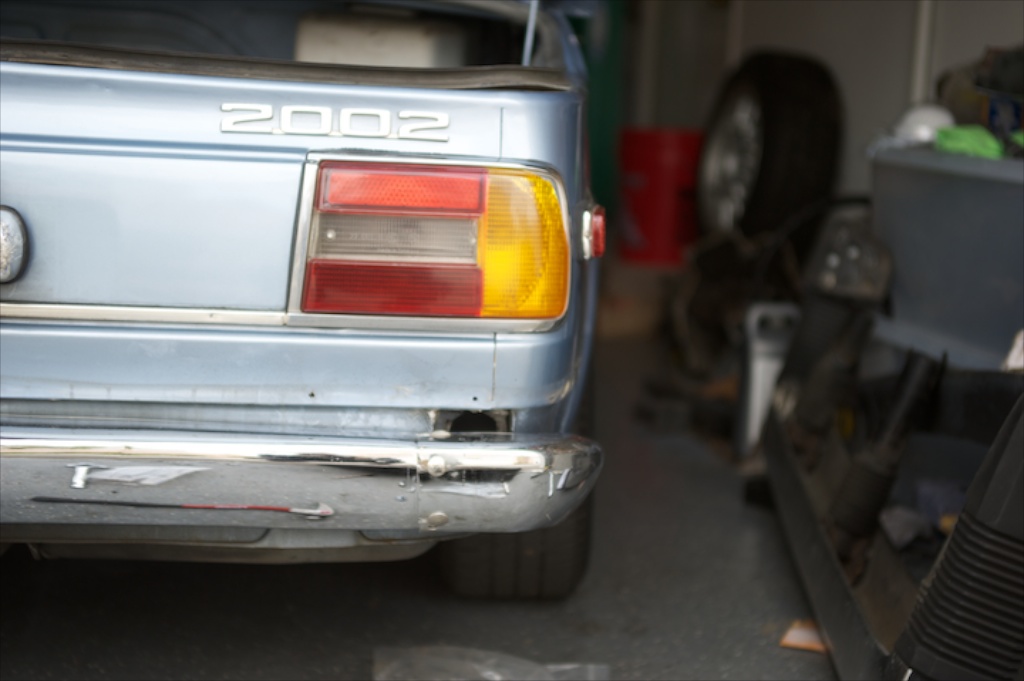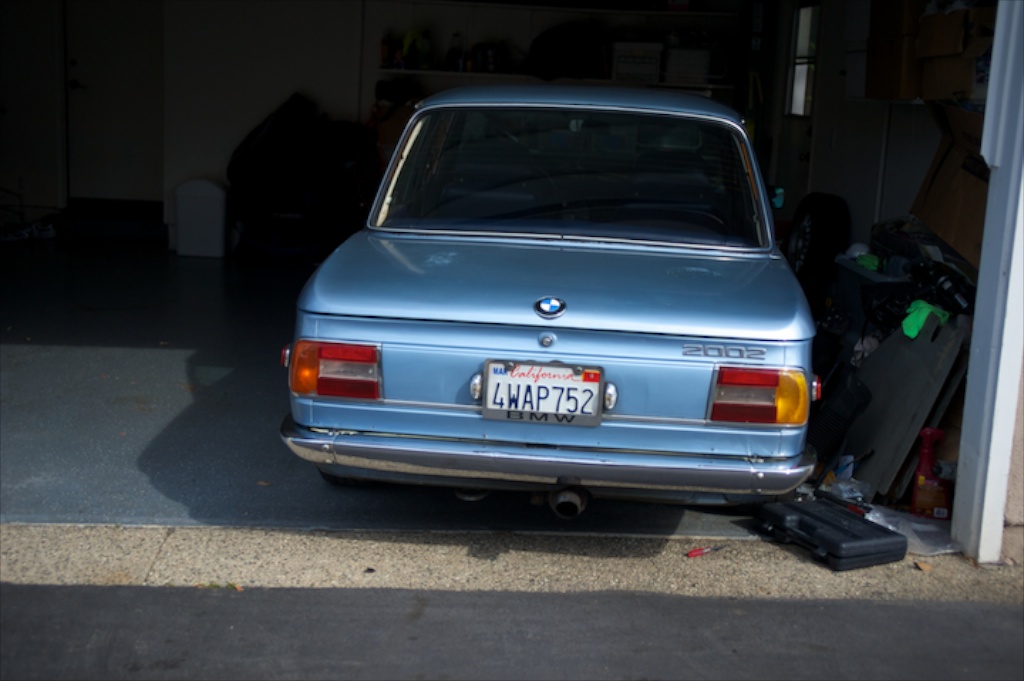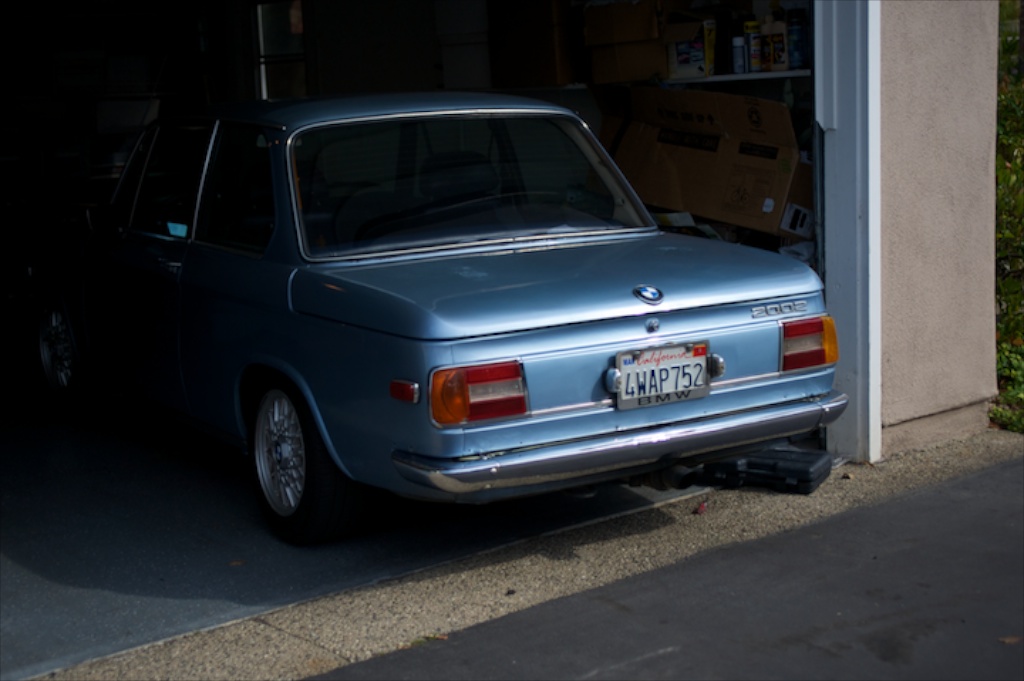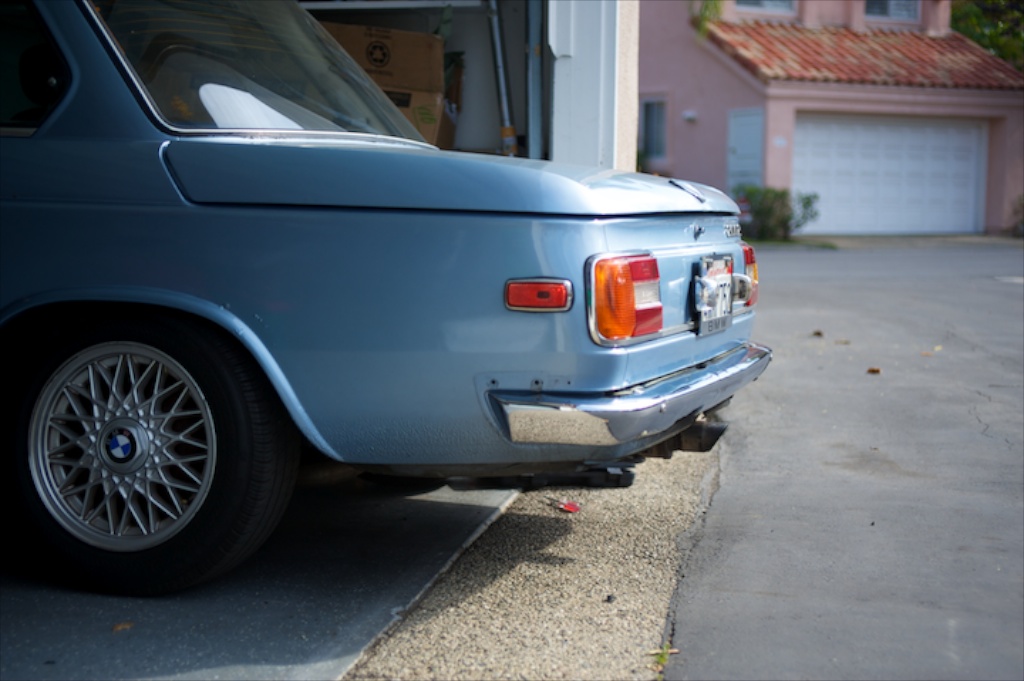
I LOVE BMW 2002’s. I think are are such an amazing and incredible car…Wonderful to drive and amazing to look at. The simple design coupled with amazing performance, durability and drivability. Its a combination that cannot be touched by todays cookie cutter approach to cars. My 1976 2002 was the last of the 2002s. They took everything they learned in the 10 year run and made this car. It was a near perfect 2002. Still light and nimble, yet very reliable with some newer advancements in the engine department. The only downside for these later cars…US 5 MPH bumper regulations. This forced BMW to install in US only cars the big steel bumpers and rubber accordions. They had heavy shocks to absorb impacts…once…once they collapsed you had to replace them. They are lovingly referred to as picnic tables or as I like to call them, diving boards. There are 2 types of 2002 owners…Roundies or Squaries…Those that love the round tail lights and small bumpers or in the US those that love the square tail lights and big bumpers. Well now there is a 3rd…and I fall into that category. Thats the square tail lights and SMALL bumpers…So my baby had to get a butt reduction! It was kind of a long process, but the results are stunning in my opinion. I opted for the short rear bumper…there is also a longversion as well, but I prefer the short and sweet version. These were on cars up to 1971 normally and the Turbo’s because the long bumpers wouldnt work with the flares. There is something about the short bumper and square tails. When looking at a Turbo, its instant…So I have been gathering parts slowly, and finally got all the pieces together for a short bumper install. The first step was to remove the big bumper. That was easy…3 bolts and a little muscle, BAM. No Bumper!
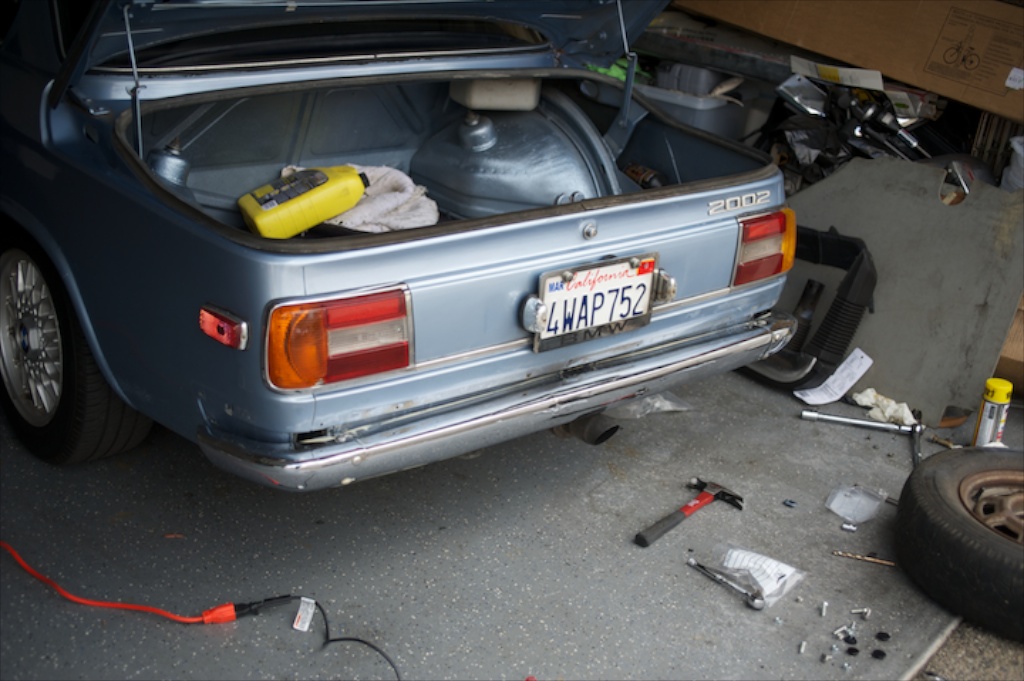
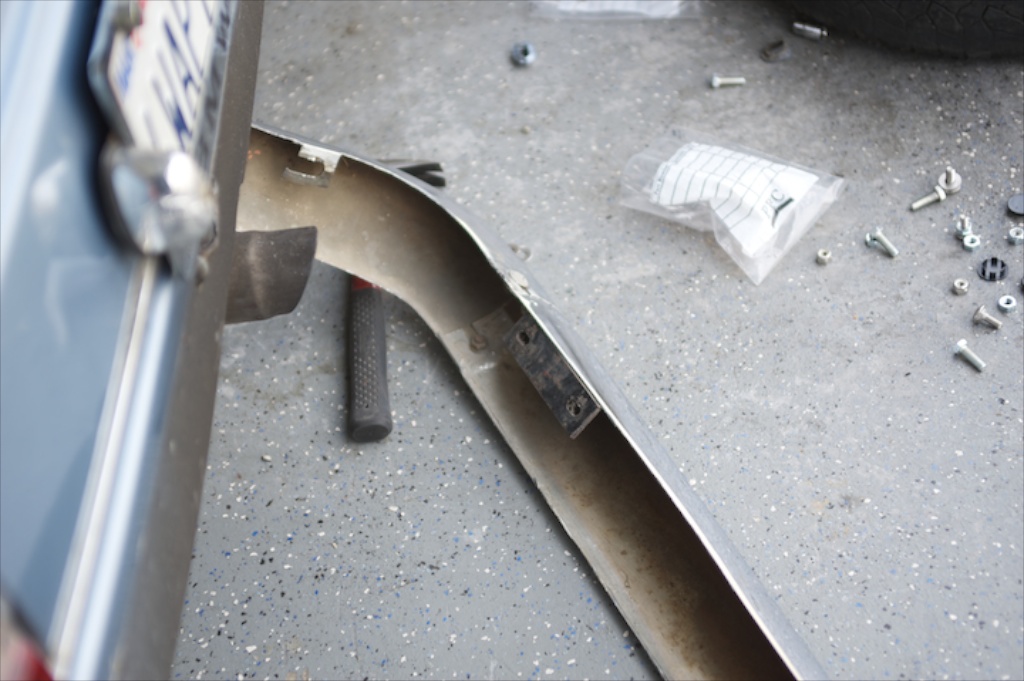
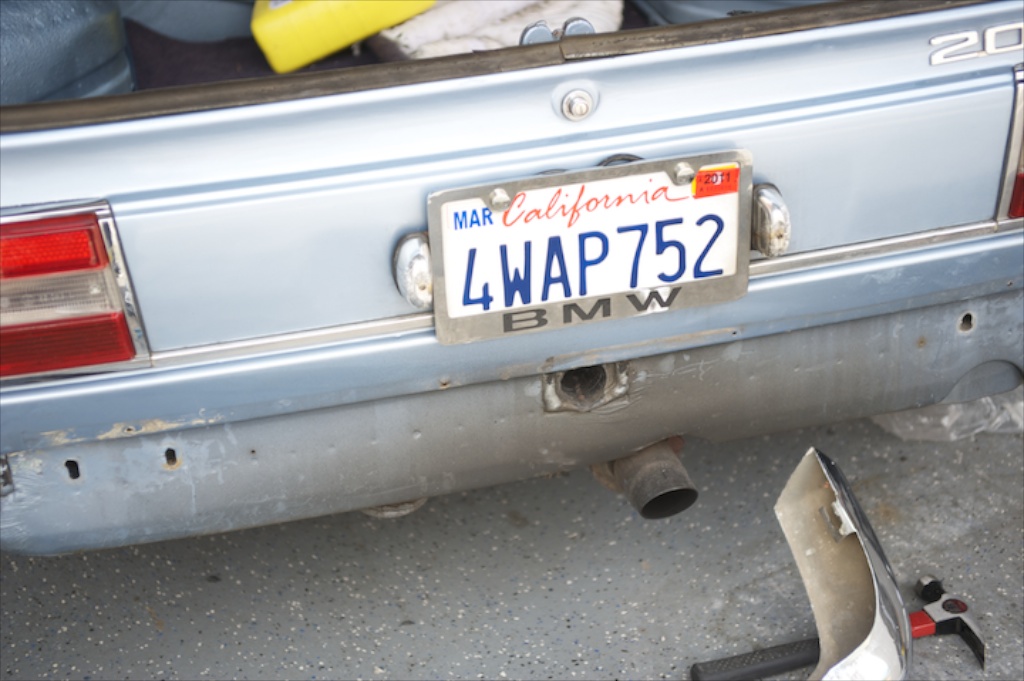
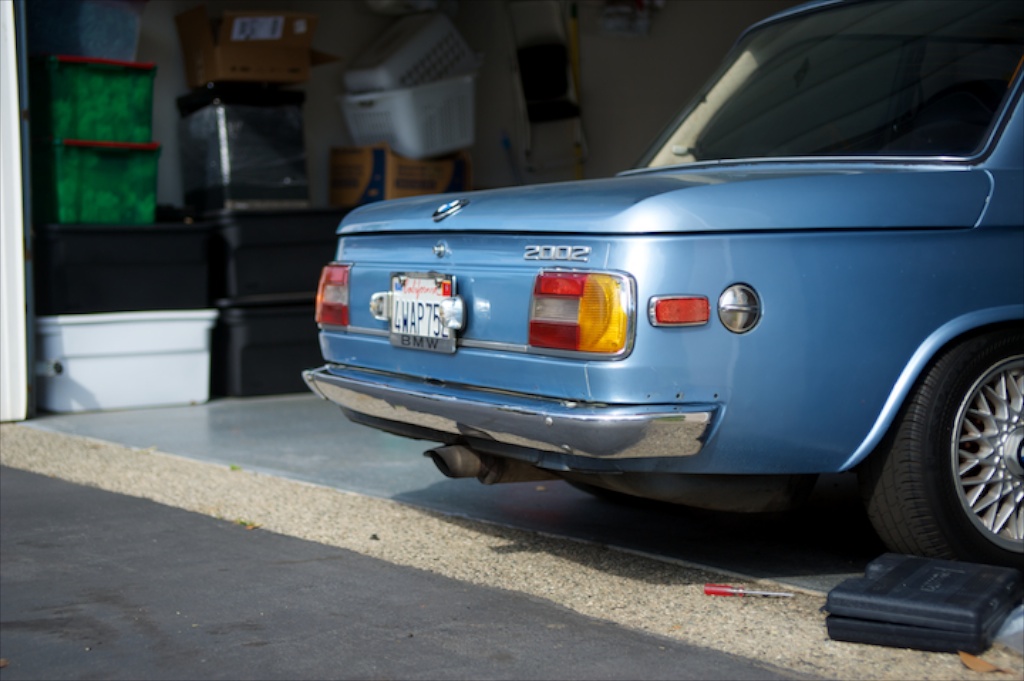
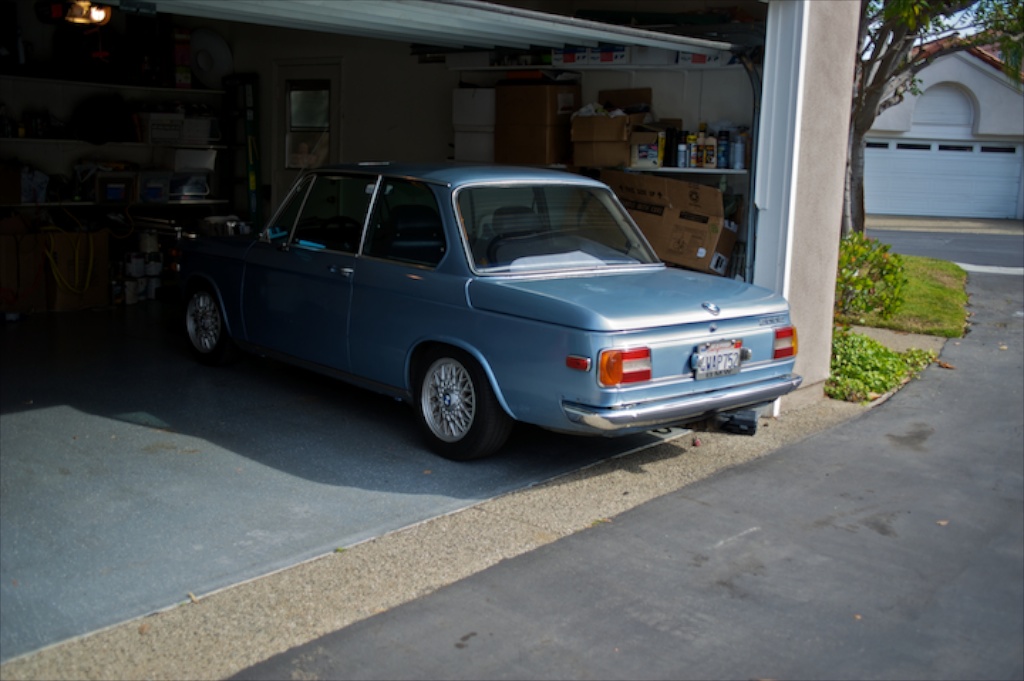
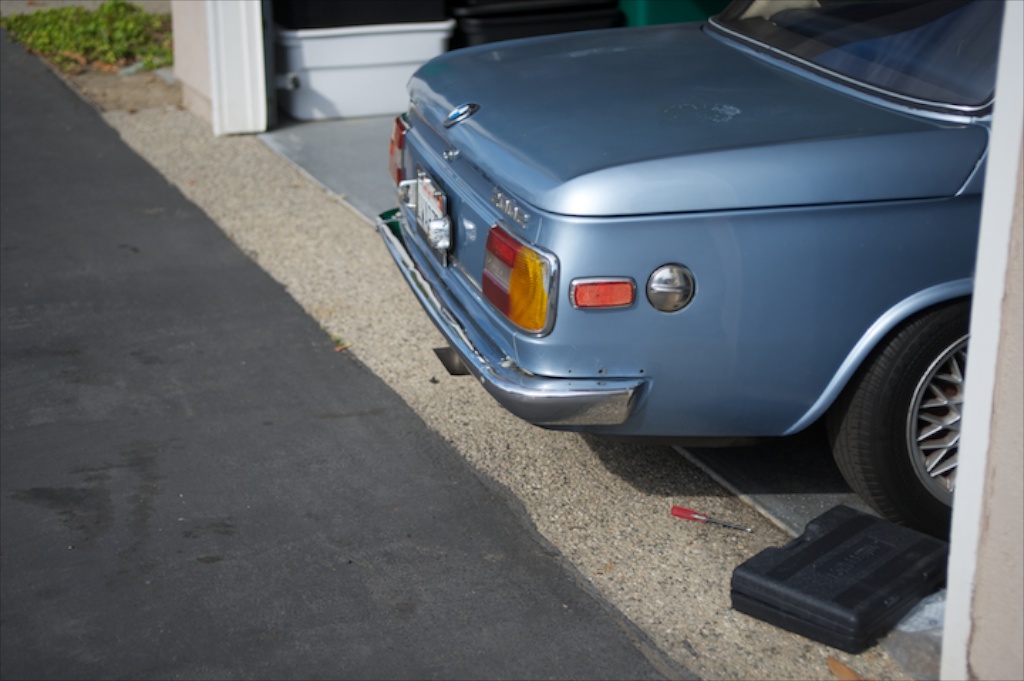
Then I had to drill the holes for the bumper brackets and cut through the extra reinforcing to get to the holes. The later cars have more reinforcement to make the car stiffer…so You have to get through that to install the bumpers. No big deal, a few holes wont hurt! After the holes are there I assembled the rear bumper and adjusted the brackets….what I have when I was done was magic! I still have to ofill in the extra holes where the old trim and rubber was mounted, not a big deal though. Weld them, grind them, prime and paint them…In my opinion the lines of the car are now cleaner and the rear bumper tucks into the contours perfectly. Not to mention the saving of about 60 pounds on the rear end! My exhaust pipe now also sticks out just right where before it got lost under the car. So it was a win for looks, a performance enhancement, and better sound! Next up, the front!