
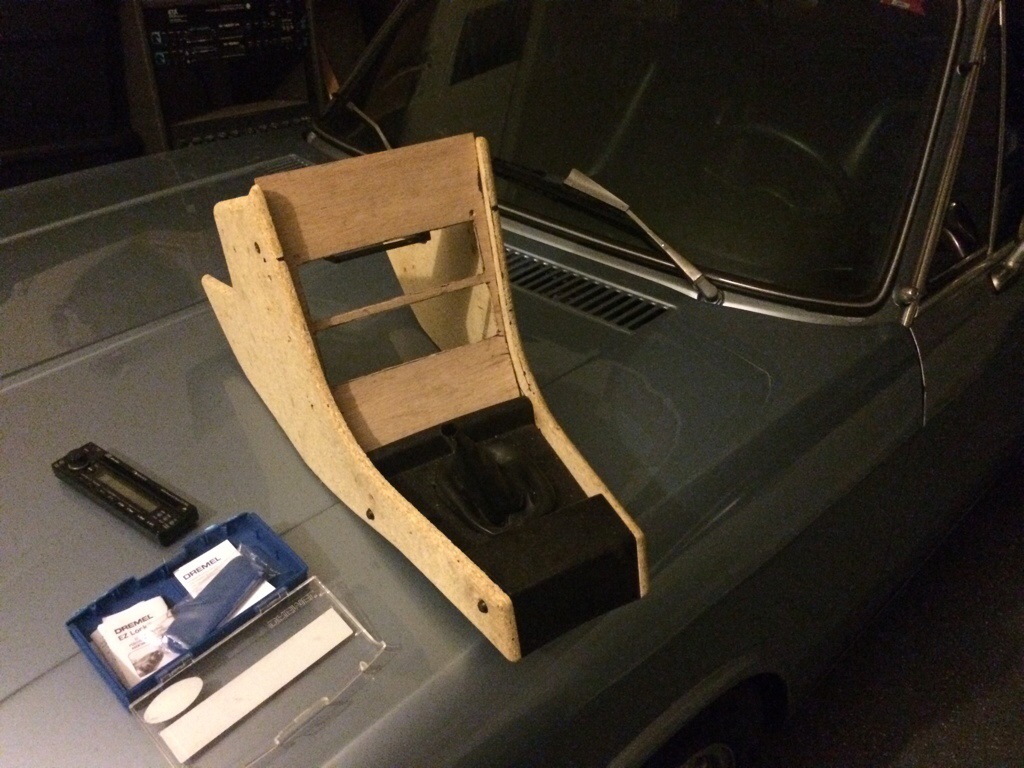
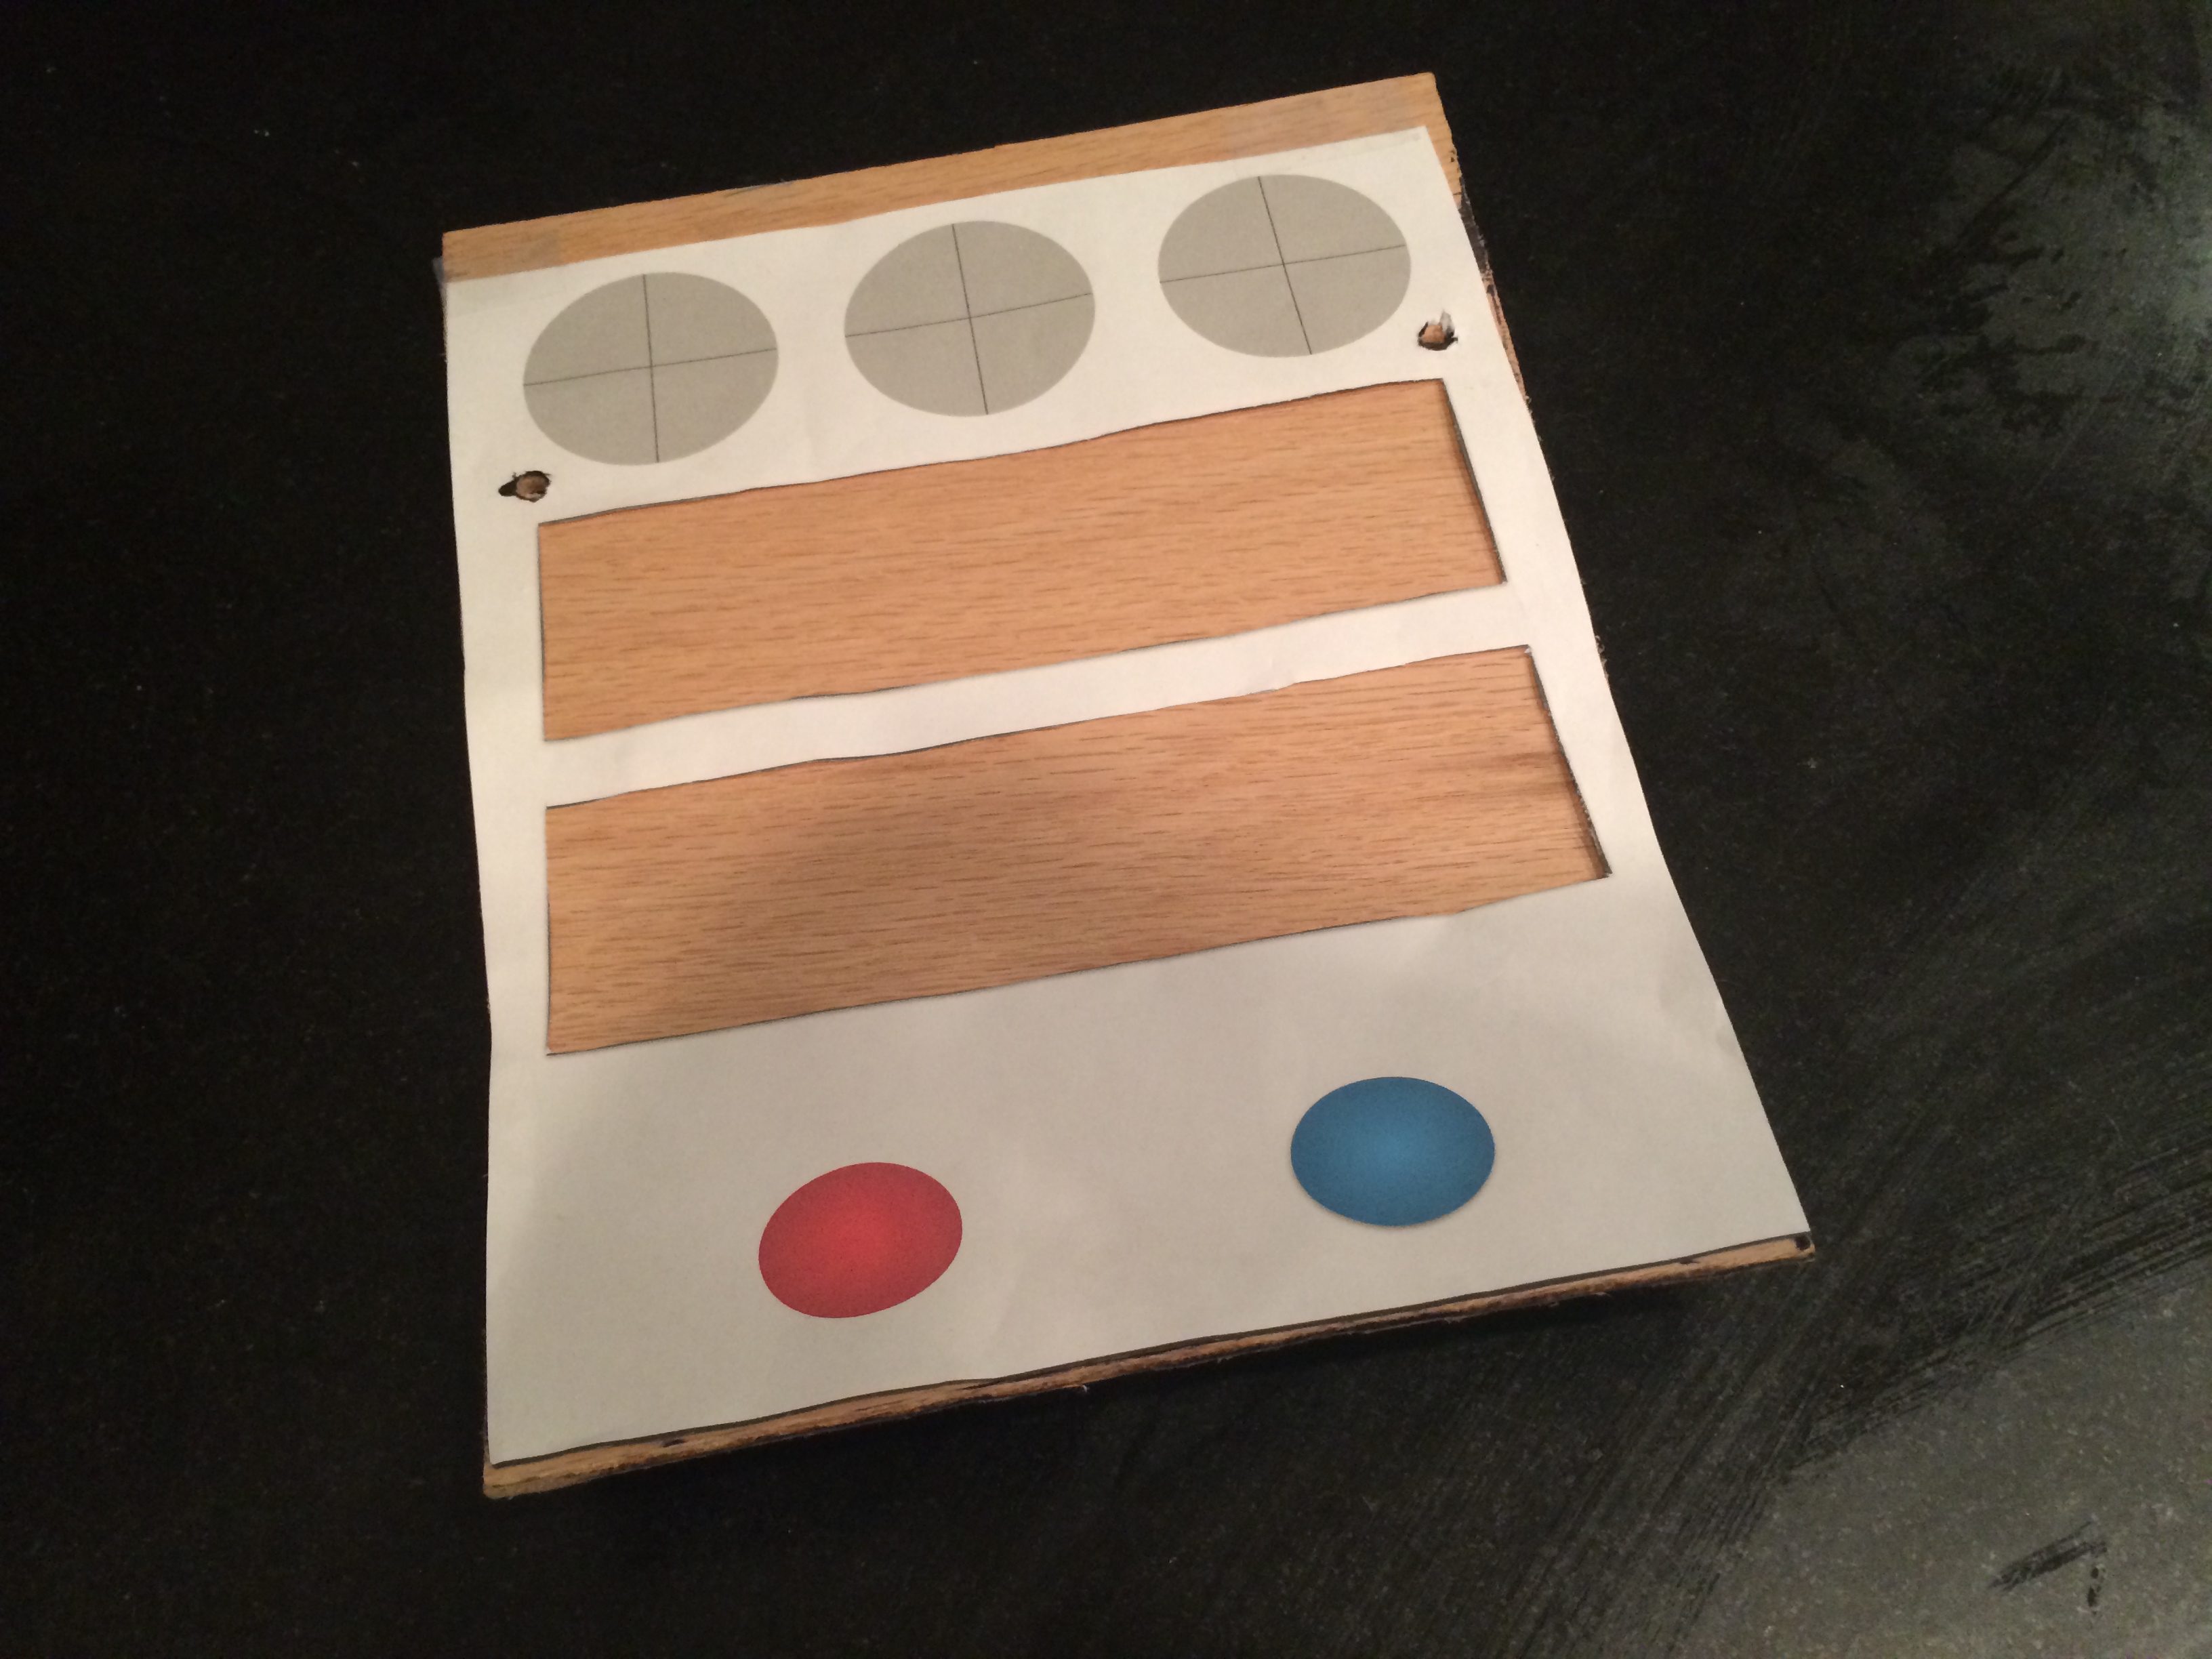
So I have now begun the next phase of the project. So far I have measured and made the face plate, decided on using wood, bent the wood. Now I want to fine tune things. I proceeded to grind down the sides and make things fit perfectly. It was time consuming, a bit here, a bit there but all in all simple. I then devised the mounting plan. One thing I want from the finished product is there to be ZERO screws visible. So how do I mount the face plate securely without visible screws? Here is my plan. I am going to put screws in the sides of the console. The face will have hooks on the rear. I will slide the face dose and the hooks will catch on the screws and I can use a nut to secure it. The hooks will be flush mounted and painted over so you wont see them and the screws will have padding and vinyl over then so you wont see the heads, they will also be flush mounted. So I spent part of the day getting the mounting hardware. Various screws and bolts. I then modified most of them with a dremel so they were exactly what I needed. Once I did that, I began cutting out the openings for the radio and clock and cubby tray. Here are some pics of the progress. The goal is to have of bolted together this week with the hope of it being ready for vinyl and paint next week.

Click here for the next chapter!